Thursday, June 26, 2025

June Makeup Looks

 Hey Y'all!


There are a few looks for June, then it got way to hot to bother with makeup on the regular. How was your June?


1)


2)


3)


4)


That was it! Which equals out to about once a week. I'd like to get that up to twice, especially since now the campground is open fully, and I'm in the office at least 2x per week, and a "face" for the place always.

What are your current makeup goals? Share in the comments below.


Have a great day,

Craftin' WIfe

Monday, June 23, 2025

How To: Camp Side Crafts

 Hey Y'all,

In these Camping crafts today, both are kid friendly, and require minimal supplies!

For today's first craft, We're making a simple primitive patriotic wall hanging. If I were going to do this again I'd probably double the size, and use cardstock. If you do that, please share with me on social media!

I used my Cricut Joy for this, but it could easily be done freehand, with other shapes, papers, etc.


Link to this project in DS:

https://design.cricut.com/landing/project-detail/6499e656c9563cf1c6effec1


Materials:

Cricut Joy

Joy Mat

Paper of your choosing (I'm using papers from a Recollections 12x12 stack from 2021. If you wanted to make this with paper I'd go a bit sturdier, and suggest cardstock instead.)

String, ribbon, or yarn

Dowel Rod or clothes hanger (I used a skewer, because I had several on hand, and we hardly ever use them on the grill.)

Scissors (Y'all know I love the Fiskars PowerCut, but for this project especially, any will do.)

(Hole Punch, I could have had the Joy do this step, but forgot. If you don't have eith, a simple poke with a fork will do.)


Step One:

Start up & open the Joy app, Select a new project/canvas. I kept it simple here, and we're just using the free star shape. Duplicate that star as many times as you'd like. I did 14 total.

Optional: Add the hole to each star, buy slicing out a small circle from the first one before duplication.


Step Two:

Plan out your layout, and color placement. For me this is more a rough idea than a must follow. You get as accurate as you'd like. 


Step Three:

Prep all your mats, and cut. For me I did roughly a 11.25 x 15in design, so I had 8 mats.


Do all the fun involved in waiting to cut....


Step Four:

Remove the stars from all your mats.


Step Five:

Prep your hanging apparatus. I used this skewer I had on hand, and some white string.
As previously mentioned, if I did it again I'd probably use a small dowel rod, and  cardstock, or stiff fabric stars.


Step Six:
If you didn't add the hole to the stars in Design Space, here's where you'll use that hole punch.


Step Seven:
Measure & cut your string (or ribbon, yarn, whatever you've chosen).


Step Eight:
Using the layout you made in Design Space, follow along and assemble. I just tied a simple knot each step of the way. You could use tape, glue, or any other adhesive you like.

Step Nine:
Continue adhering stars, and attaching to your base until finished.


Step Ten:
Admire your work!


If you make any variation of this please tag me on social media!


Next, Cuff Bracelets:


For this next craft we made T.P. Cuff Bracelets. They are even easier to make than it sounds!


Supplies:
T.P. roll or paper towel roll
Scissors
Paper (from scrap stash)
ATG or other adhesive
Stickers (From left overs/scraps)
Optional~ Hole punch, twine

An adult or bigger kid should probably do this part. I didn't bother measuring, just cut each section to desired width.


Cut the seam to make a cuff bracelet.


Various sizes.


The papers we chose (from scraps).


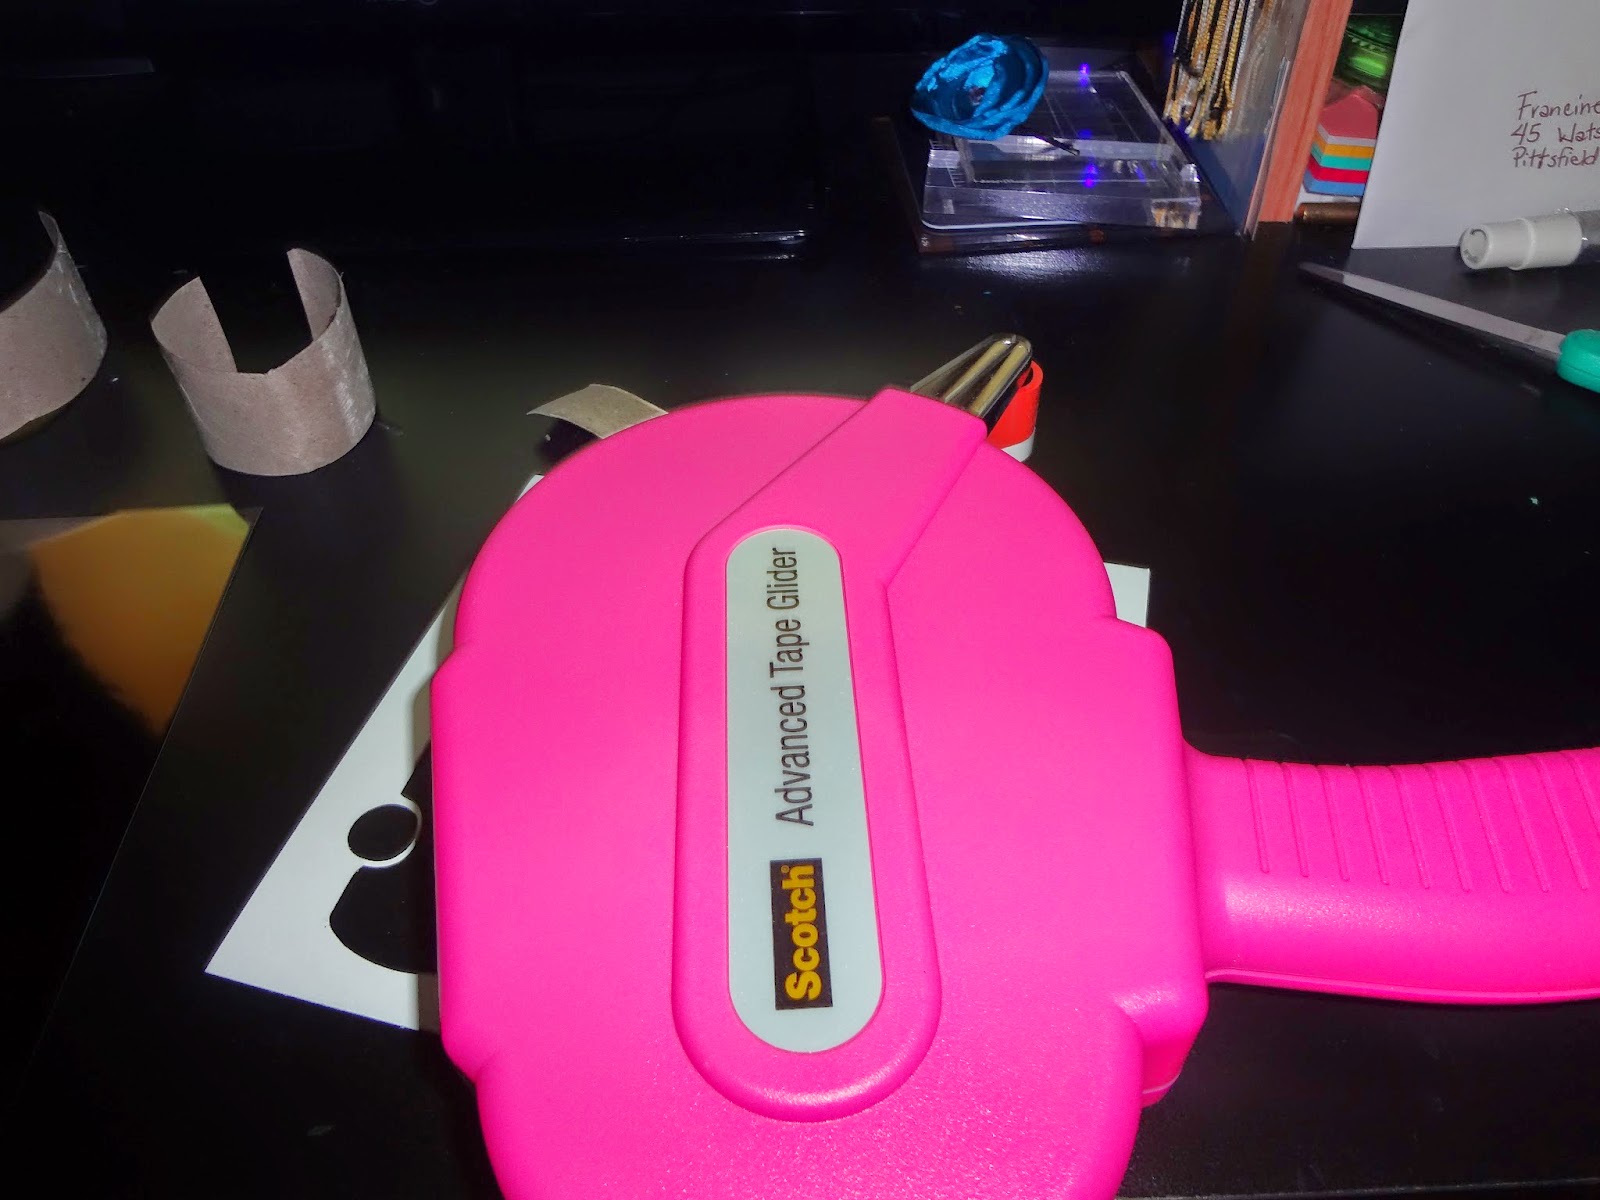
Tape Glider.


Sticky side up!


Adhering to the paper.


Trim off excess paper.


Since these were for little wrists I decided to add some holes & twine.


Getting it ready.


All strung up.


Stickers!


First completed bracelet.


Sticky side up for #2.


OOOOO Shiny.


Double holes.


More stickers!


Zig Zag!

This was a really simple craft to do, and other than the twine it was all from my scraps. 


Share your Camp Craft ideas below!


Have a great day,

Craftin' Wife

Friday, June 20, 2025

My Birthday!

  Hey Y'all!


What'd were our plans for my birthday? 

Nothing much. Chris was working, I read electric meters this morning. 

I already received my gifts from my Mom & Sister. 

Mom got me:

a few pair of earrings, a Diamond Painting kit, a pair of PJS, and a box set of the Nightmare on Elm Street films. (Awesome!)

From my Sister & fam:

A Winnie the Pooh backpack, a beautiful blush, and a Christopher Robin book. (Woohoo!)


Chris and I already decided the bus, and all the parts & things to get it going was going to be both of our birthdays, anniversary, & Christmas this year.


We ordered pizza, hung outside for a bit, then retreated indoors after watching the sunset, and watched some YouTube before going to bed.


Have a great day,

Craftin' Wife

Wednesday, June 18, 2025

GRWM: Just A Regular Day

 Hey Y'all!


I had quite the morning.

I started out with completely forgetting to take my phone (to film) to the bathroom with me. Not a big deal, but forgetting the towel kinda was. It was only up from there! 


Have a great day,

Craftin' Wife

Monday, June 16, 2025

How To: 5 Easy Steps To Connect Your Cricut Machine Via Bluetooth

 Hey Y'all,

The process is fairly simple, and in todays blog I'll share how to with Windows & android, since those are the products I own and am familiar with.

First, via Android:


  1. Ensure your Cricut machine is powered on and within 10-15 feet of your mobile device. The further away the weaker the connection.
  2. Open Settings and then Bluetooth.
  3. Ensure that Bluetooth is ON and select your Cricut machine's Bluetooth device code from the list. Your machine's Bluetooth device code is printed or engraved on your machine, near the serial number.. If prompted for a PIN or pairing code, enter 0000 Cricut Explore Air 2 or older may require this. Newer machines do not.
  4. Your Cricut machine is now paired for Bluetooth connection!
  5. Return to Design Space and New Product Setup. Your Cricut machine should now show up as connected during setup.

Next via Windows:
  1. Ensure your Cricut machine is powered on and within 10-15 feet of your computer.
  2. From your Start menu, select Settings (gear icon) and then open the Devices option.


  3. Ensure that Bluetooth is ON and click Add Bluetooth or other device.


  4. Select Bluetooth and wait for the computer to detect your Cricut machine. This took awhile for me, so be patient. Select your machine's Bluetooth device code from the list. Your machine's Bluetooth device code is printed or engraved on your machine, near the serial number. It is normal for Cricut machines to show up as an Audio device in this list. 
  5. If prompted for a PIN or pairing code, enter 0000.
  6. Your Cricut machine is now paired for Bluetooth connection!

Have any questions? Let me know in the comments below!

Have a great day,
Craftin' Wife

Friday, June 13, 2025

Friday the 13th

 Hey  y'all!


What are your plans today?

For me it's catching up on blogs, manning the camp office from 2-5, then dinner & spooky movies!


Have a great day,

Craftin' Wife

Tuesday, June 10, 2025

What Am I Doing With My Hair?!

 Hey Y'all!

As you've seen in my most recent Makeup Looks blogs, my hair is growing!

https://craftinwifescreations.blogspot.com/2025/05/may-makeup-looks.html

https://craftinwifescreations.blogspot.com/2025/04/april-makeup-looks.html


So, I've decided, at least through the summer, it's much easier to let it grow. I can now put up the top, and sides, and it almost all fits in a pony tail. That's much easier with all the windy days & working here in NW Indiana.


Here's what I'm currently doing the most:


So come Fall it'll be time to try something new... give me your style suggestions below!


Have a great day,

Craftin' Wife