Wednesday, August 20, 2014

Create a Card~ Happy Camper


This Create a Card is also for a challenge I am a part of on Facebook (Stampin & Taggin Place) to use die cuts on the card. I used my Slice machine for all the die cuts on this card.


Materials Used:
Studio G Cardstock base in cream. Post its (to mark off a section).

We R Memory Keepers Sweetheart Inkers in Brown, Green, Blue, & Aqua.

Studio Calico Here & There Collection 6x6 paper pad (2012).

Paper (above). Scotch Advanced Tape Glider (aka ATG Gun).

Slice & The Great Outdoors Design Card.

Travel USA Design Card.

Xyron 3in Sticker Maker & (not pictured) Xyron 1.5in Sticker Maker.

  
Michaels Clear Rhinestones.
Links to available products:
Sweetheart Inker 
Paper pad (not exact)
Advanced Tape Glider
Slice & accessories
Xyron
Michaels Bling


Lets get started!

Sectioning off where I want to apply the Sweetheart Inkers.

Layering the inks.

Removal of the post its, Inking is done. I only let each color dry for a few seconds, and didn't have any problems with color transfer.

Inside the card, inking and paper added.

Die cutting with the Slice.

More Slice cuts.

Deciding on placement and adhering the die cut. (Also pictured the 1.5in Xyron.)

Die cut tree, inked it up as well.

Another die cut, adhered inside the card. Finished inside.

Final placement of everything, added a camper die cut, inked up the wheel.

Finished!!
I had a lot of fun with this card. I hadn't used my Slice in a while & it was nice to rediscover some of the things it can do. This was also the first time I'd used the Sweetheart Inkers, I'm impressed with those so far.

My next blog will be Saturday, the 23rd. It's my Beauty & Craft Monthly Favorites blog! I have lots to share!

Have a great day!
~CraftinWife


Sunday, August 17, 2014

Pinterest Inspired~ Mickey/Disney Pin Wreath


Finished Project!

Pinterest Inspired original pin:
On pinterest~ Pinterest link
Disney Pin Wreath 

I used this pin as inspiration and decided to make it my own, by making the wreath in a Mickey Mouse shape.

How-to:
1) Gather materials.
I used floral foam from Dollar Tree, but any foam wreath would work.
Bamboo Skewers (read why I chose this below)
Tape (to prevent splinters)
Ruler
Marker
Paint
Paint Brushes
Paint pallette
Mod Podge
Ribbon

Foam.
Paint palette & brush.
Red.
Second Black. The black needed two coats, and I used all the first tub of black.
Ribbon.
Mod Podge. (Dries Clear)

Skewers. If you want to be precise you can cut these, but I just snapped one in half and taped up the rough edge to prevent splintering.

Prep.
 Measure the distance you want your ears apart.
Rather than risk melting my foam with hot glue I decided to use some bamboo skewers I had from a project last year to adhere Mickey's ears. If you choose to use glue make sure to mark your placement so your ears aren't lopsided.
Marking off painting sections.


Use the ruler again to section off your colors, and mark your sections off with the marker. (The colors I chose are black and red. ) There are many options here as far as color scheme go!

Preparing my paints!

First coats drying.
First coat, see how dull and splotchy the black is?
Second coat going on.
I let the first coat dry for 4-6hrs before starting on the second coat, which dried over night.

Ribbon!
First I measured out my ribbon to be able to safely hang my wreath (approximately 10-12in). Using the Mod Podge and an old paint brush I applied the glue to the wreath and the ribbon and let dry (30min).


Pin!
There are plenty of different ways/modifications that this wreath could be done. The inside being green doesn't bother me, so I was fine to leave it, others may want to paint it too. I am going to add a little ziplock baggie to the backside to store all the pin backs so they don't get lost.

Happy Crafting!

My wreath!

I am skipping this months InstaShares blog, however if you are interested my Instagram link is at the top of my blog. My next blog will be on Wednesday, the 20th. The Create-a-Card theme is Camping.


Have a Great Day!
~CraftinWife


Tuesday, August 12, 2014

Kids Corner~ Paper Crafting (Toddler Edition)

With toddlers no matter what you plan they have their own ideas.  They both really love art/crafts so I like to let them go wherever their creativity takes them. This is one of those instances.  (Next kids corner will be more structured.) 
They decided to make pictures for Mamaw & Papaw:

Gathering supplies/ 2yr olds work space.
 Products Used:
Construction Paper
Learning to Write paper tablet
Xyron 1.5in
Colored Pencils (Rose Art & Crayola)
Markers (Various brands)
Studio G Glitter glue (Various colors)
Momenta Chipboard Cut outs
Colorbok Chipboard cut outs
Bug & Flower stickers (Unknown brand)


4yr olds work space.

4 year old finished project.

2 yr old finished project. (After this he decided to add a bunch of dark purple glitter glue to the "alligator".)

They had a blast doing art projects, and I love spending crafty time with them!

My next blog will be Friday, the 15th. It's a Pinterest Inspired  Disney Craft. Be sure to check it out!


Have a great Day!
~CraftinWife

Saturday, August 9, 2014

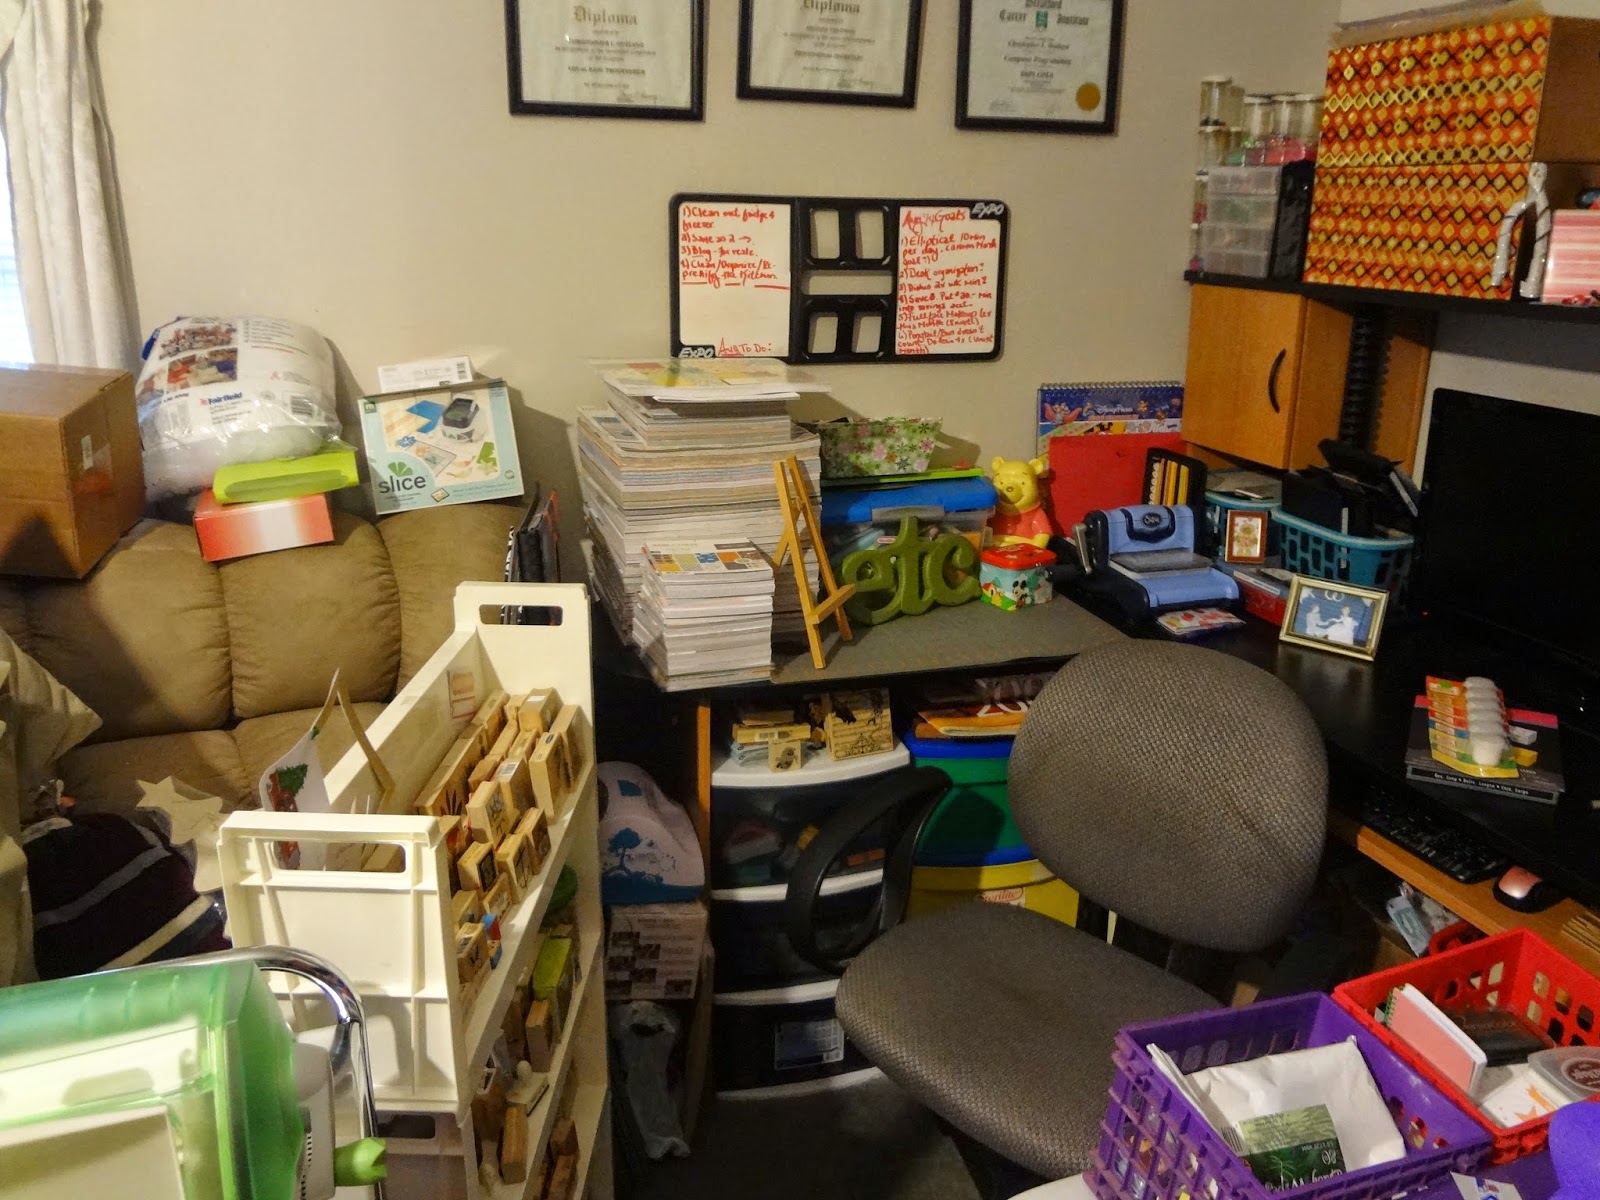
Crafturday~ My space & recent hauls

Today I am sharing with you my Crafty Space & well as a few recent hauls.
(I am in no way trying to brag, if you don't want to see/read this post that's perfectly fine. I myself enjoy reading/seeing others hauls and craft {or makeup} spaces and wanted to share mine.)

 
Keep in mind that I NEVER pay full price for anything, and that all of this has been purchased over a two+ year span, with exception to my desk which has seen many places (7, in two states) since my DH bought it for me in 2003. I have no idea what he paid, but considering we were planning a wedding and pretty broke back then I don't imagine it was too much.

If you want to know where I found something, how much it was, or see any drawers in depth, just leave a comment and I'll answer a question there, or post a follow-up blog.

Onto the mess fun:

My little corner~
This is cleaned up...
 
We need a bigger house...or hubby needs less stuff :)


:)

Wooden Stamps that aren't holiday, except Easter.


My newest 'cart' DH bought on AsIs clearance (no wheels) for $19. Normally $80.

On the top is my 9im Xyron Creative Station.
Top Drawer: Bling, Smash book cards, label maker.
Next: All my Zazz Glitter Glue and various color mist sprays.
Next: Mat Packs and White cardstock for stamping images.
Next: Washi Tapes & Bakers Twine.
Next: Chipboard albums (blank)
Followed by three empty drawers.
The last two hold soap making supplies.


INKS!

Daily planner, Sizzix, and both baskets hold dies & embossing folders, as well as Slice design cards.

Paper packs!!

2- Three drawer carts. 
White~
Excess (Wood) Halloween Stamps (there is also a basket full behind the loose ones).
1: Punches
2: Markers & colored pencils
3: Paint & brushes

Colored~
Maps (for a project) & Mod Podge samples.
1: Adhesives & scissors
2: Bow making stuff
3: Card bases, stationary, scrabble tiles
 
 
The last 3 drawer cart.
Top:Inks, list of all stamps I own, Slice, color wheel, & wipes
1: Stickers
2: Cling stamps (all stamps that aren't wood)
3: Overstock/Duplicates/Refills


12x12 loose paper, Day Books, Tool kit, Gel Pens, Family Fun Mags.

Beads, jewelry making stuff, craft edge scissors. Both boxes hold ribbon & some art I need to frame (from family).

Under here is a mess... Craft mags & books, seasonal/holiday (Christmas, Halloween {stickers only} Thanksgiving, Valentines Day) stamps & stickers, a random frame.     


Where Women Cook Sizzix Die 559543, ModPodge Kit (already pictured). 
WWC Sizzix 559196
I purchased both of these at Michaels using coupons (50% off the top pictured and 40% off the other).
Again if you have any questions feel free to ask!
My next blog will be posted Tuesday, Aug 12th. It's a Kids Corner with my niece and nephew and we will be paper crafting.

Hope you enjoyed!
Have a great day!
~CraftinWife