My passions lie in the beauty industry (since 1998) & the Craft industry (since childhood, but truly re-ignited in 2010).
Beauty & Craft inspiration, product reviews, and how-to's, as well as general life stuff..
Scraper Tool (I did use the DT one here, but really have no preference.)
Brayer (Not necessary, but it helps to adhere the vinyl to the mat. Mine is Speedball brand, and I picked it up at a yard sale for cheap.)
The Layering process begins at 7:41:
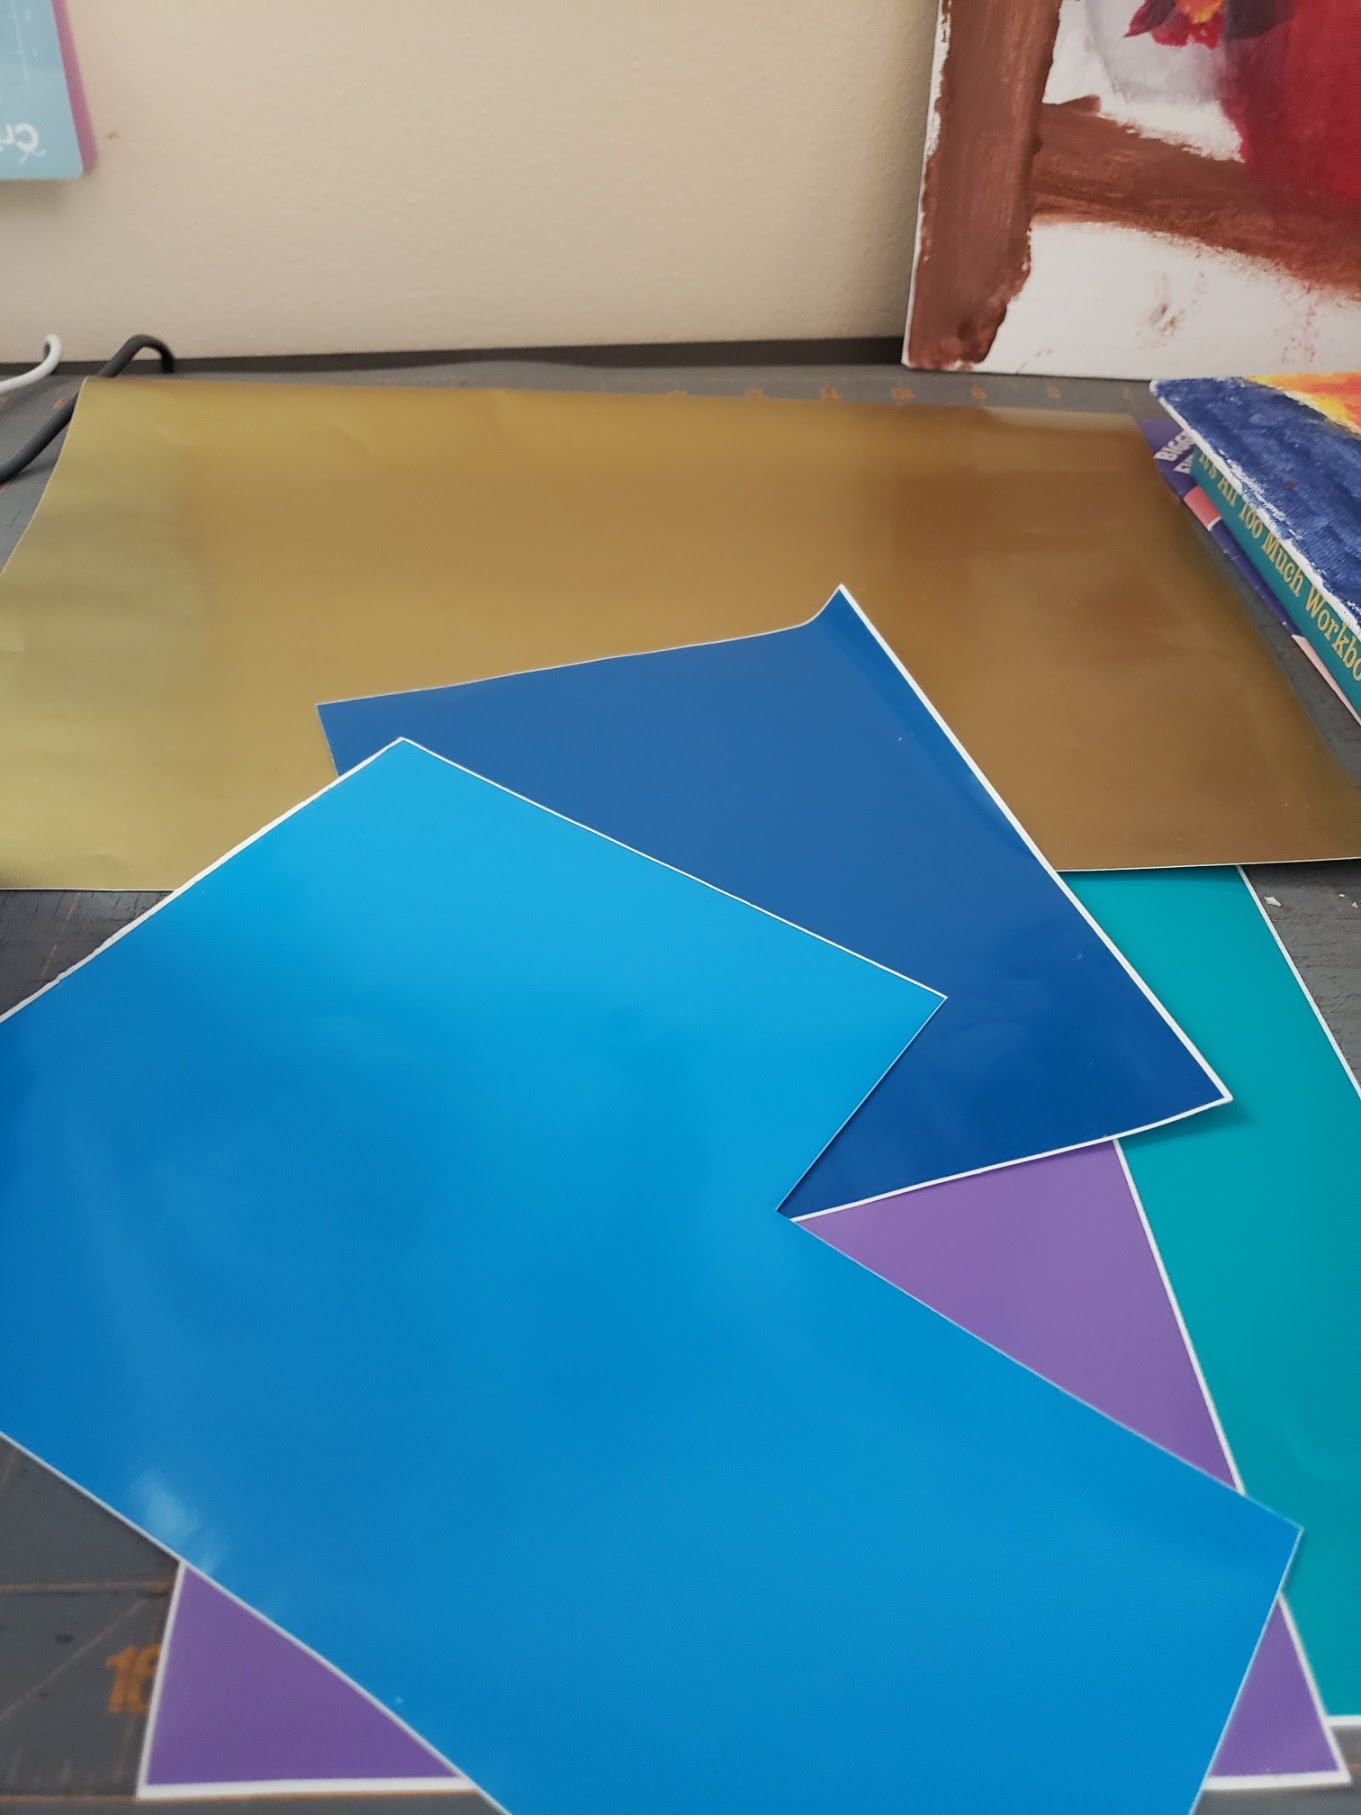
After I found the image I was going to use for today, I chose the vinyl colors I wanted to use from my larger scraps.
Next I began the cutting process with each color/layer.
Here's the image in colors closer to the ones I chose. I like to refer back to my screen for layering in the correct order, and for placement.
I choose to attach the like colors in Design Space, it does use up more vinyl, but it makes layering so much easier. (And I have plenty of vinyl!) I then weeded each color.
I laid it all out, and decided which order I should go in, from bottom to top.
As you can see in the video I start with the bird since it's the largest, and built up from there. I should have measured first, because when I got to the last layer the "Aloha" had to go at the bottom because I ran out of room. That's what I get for eyeballing it & rushing, lol.
I used the image on screen as my guide, and decided to place the branch and beak next, because for me it looked like everything else built up and out from there.
I then layered the leaves, starting with the light blue, then the dark. The flower fit perfectly in the gap left for it.
I actually really like "Aloha" at the bottom as well, and was able to place it there with ease by not letting the transfer tape fall down. I did mumble an expiative to myself when I tore the A, but it's not even noticeable in the end.
I should note I used a very well loved piece of transfer tape, so it was just sticky enough to pick the vinyl up, but not so much as to stick to the paper envelope I was putting the decal on.
After the fact I did reposition that last dark blue leaf to sit in the proper spot and not so much under the flower petal.
What colors would you have picked? Let me know in the comments below!


No comments:
Post a Comment
Hey Y'all!
Have a great day!