Hey Y'all,
In these Camping crafts today, both are kid friendly, and require minimal supplies!
For today's first craft, We're making a simple primitive patriotic wall hanging. If I were going to do this again I'd probably double the size, and use cardstock. If you do that, please share with me on social media!
I used my Cricut Joy for this, but it could easily be done freehand, with other shapes, papers, etc.
Link to this project in DS:
https://design.cricut.com/landing/project-detail/6499e656c9563cf1c6effec1
Materials:
Paper of your choosing (I'm using papers from a Recollections 12x12 stack from 2021. If you wanted to make this with paper I'd go a bit sturdier, and suggest cardstock instead.)
String, ribbon, or yarn
Dowel Rod or clothes hanger (I used a skewer, because I had several on hand, and we hardly ever use them on the grill.)
Scissors (Y'all know I love the Fiskars PowerCut, but for this project especially, any will do.)
(Hole Punch, I could have had the Joy do this step, but forgot. If you don't have eith, a simple poke with a fork will do.)
Step One:
Start up & open the Joy app, Select a new project/canvas. I kept it simple here, and we're just using the free star shape. Duplicate that star as many times as you'd like. I did 14 total.
Optional: Add the hole to each star, buy slicing out a small circle from the first one before duplication.

Step Two:
Plan out your layout, and color placement. For me this is more a rough idea than a must follow. You get as accurate as you'd like.

Step Three:
Prep all your mats, and cut. For me I did roughly a 11.25 x 15in design, so I had 8 mats.


Do all the fun involved in waiting to cut....
Step Four:
Remove the stars from all your mats.

Step Five:


If you make any variation of this please tag me on social media!
Next, Cuff Bracelets:

For this next craft we made T.P. Cuff Bracelets. They are even easier to make than it sounds!

Supplies:
T.P. roll or paper towel roll
Scissors
Paper (from scrap stash)
ATG or other adhesive
Stickers (From left overs/scraps)
Optional~ Hole punch, twine
 |
| An adult or bigger kid should probably do this part. I didn't bother measuring, just cut each section to desired width. |
 |
| Cut the seam to make a cuff bracelet. |
 |
| Various sizes. |
 |
| The papers we chose (from scraps). |
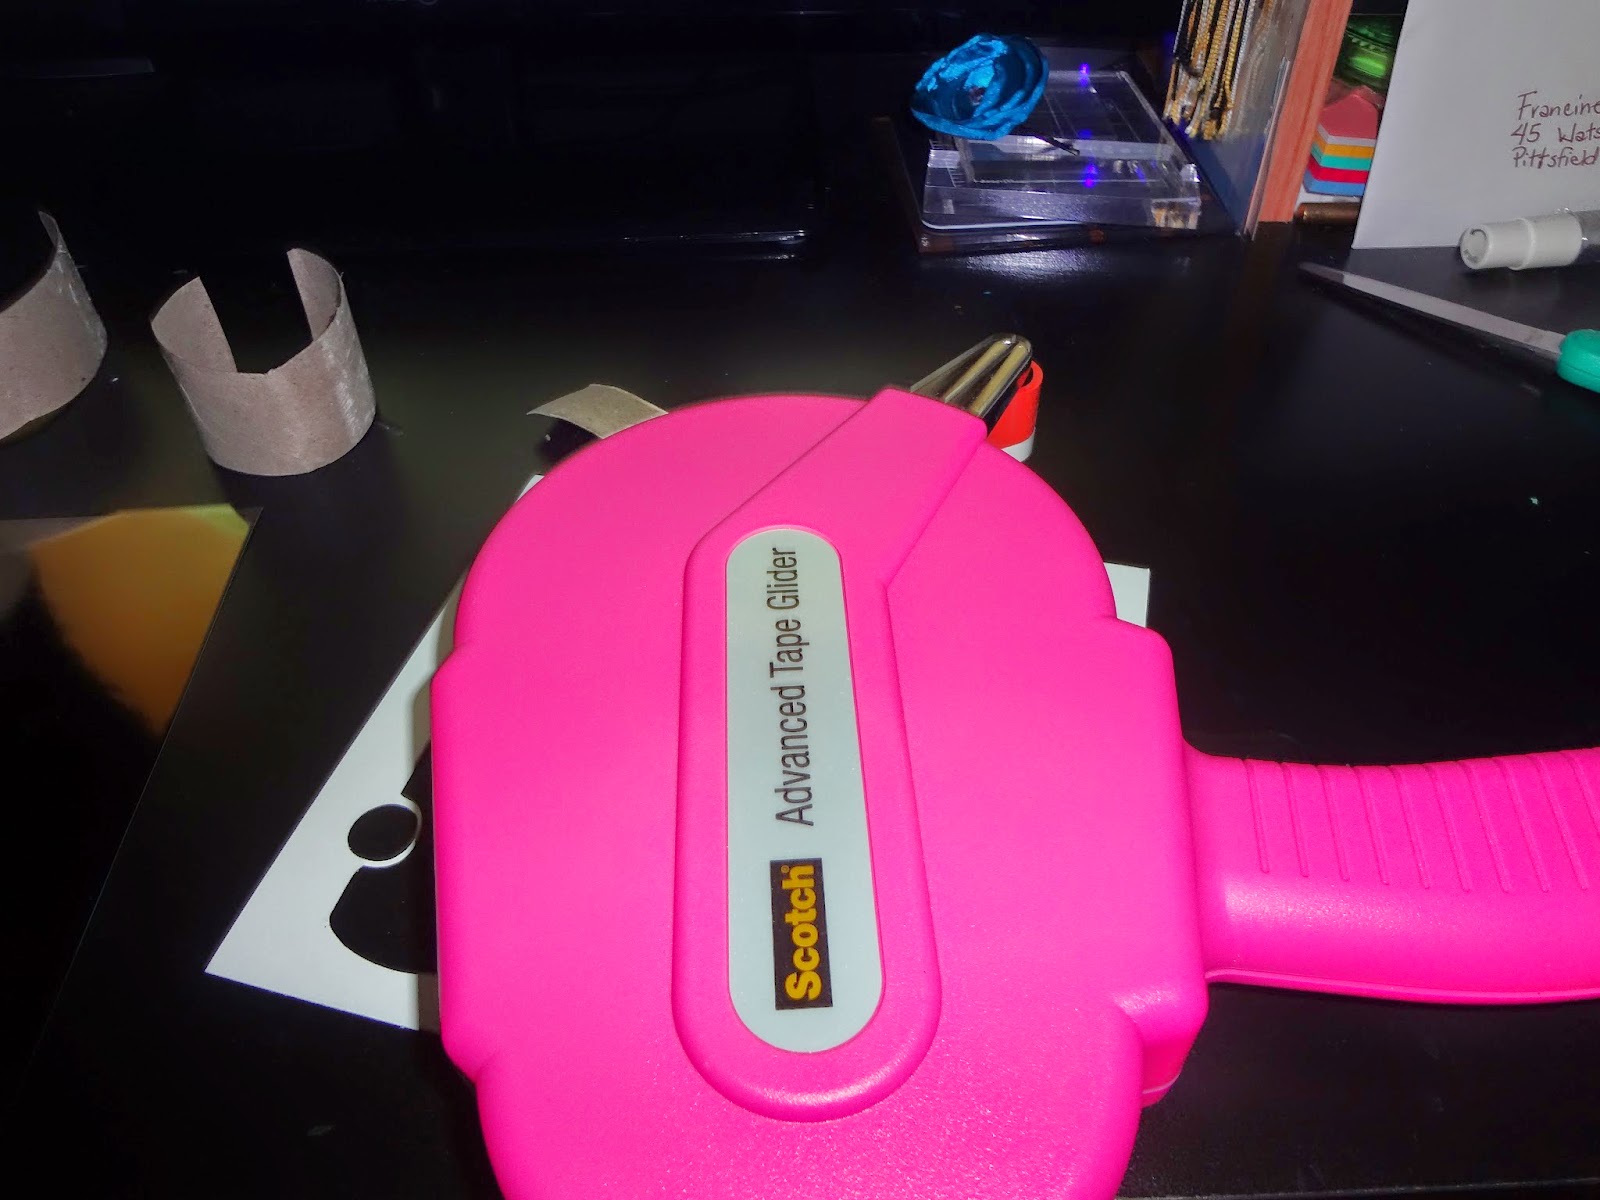 |
| Tape Glider. |
 |
| Sticky side up! |
 |
| Adhering to the paper. |
 |
| Trim off excess paper. |
 |
| Since these were for little wrists I decided to add some holes & twine. |
 |
| Getting it ready. |
 |
| All strung up. |
 |
| Stickers! |
 |
| First completed bracelet. |
 |
| Sticky side up for #2. |
 |
| OOOOO Shiny. |
 |
| Double holes. |
 |
| More stickers! |
 | |
| Zig Zag! |
This was a really simple craft to do, and other than the twine it was all from my scraps.
Share your Camp Craft ideas below!
Have a great day,
Craftin' Wife
No comments:
Post a Comment
Hey Y'all!
Have a great day!