Tuesday, October 10, 2023

How To: Spooky Scene w/ Cricut Window Cling (Beginner Friendly)

 Hey Y'all!

(There has been a pretty big update to Design Space, I'll do a special blog this week and cover the changes!)

Using window cling is super easy with Cricut!

Let's get into it:


Supplies-

Window Cling (Whichever colors you choose, I'll be using Orange. Also available in Black, Frosted White, and Red.)

Cricut w/ Design Space Loaded

Cutting Mat

Weeding Tool


You can use your imagination and dream up any scene you'd like, I chose this DS image:


Add image(s) to your canvas, and size them to fit your space.
When choosing images be mindful of weeding, and piecing it back together.


Make it!

There is a window cling setting, ready to go.
On the Explore Air 2 turn the dial to custom, and search for the correct setting (window cling).


All ready to cut!


Load material to mat. I used the standard grip mat.


Cut in progress:


Finished cutting, unload the mat.


Weed your design, and you're ready to place where ever you'd like!


Why window cling?

Create festive window decals using frosted window cling. This reusable non-adhesive clings to most non-porous surfaces and leaves no residue for DIY ease and convenience!

  • Non-adhesive clings to most non-porous surfaces
  • Removes without residue
  • Reusable; backed with liner for convenient storage
  • Designed for indoor use
  • Compatible with all Cricut machines


Have a great day,

Craftin' Wife

Friday, October 6, 2023

Pack With Me: Kitchen!

 Hey Y'all!

We've been saving the kitchen packing for last, and keep procrastinating doing the packing we can.

 Obviously we can't pack up food, or all the cookware yet since were still using it, but we can pack up the cookbooks we want to keep, and the glass dishes, and Tupperware, etc...

Here's what the kitchen looked like before we got started:


In progress:


We got all the books packed, most of the cookware, plastic cups, random kitchen items, towels, etc. We ended the day with a full bag of trash and several totes full packed up. We only quit because we ran out of totes, and the only thing left to pack up right now is all the glass (bakeware, and dishes) and cleaning supplies.

We're getting there!


Have a great day,

Craftin' Wife

Wednesday, October 4, 2023

September Looks, October Shelf (Makeup)

 Hey Y'all!


If there was a theme for Septembers looks it was SIMPLE. I did my make up a few times, but I really wasn't inspired by the palettes I chose... Plus we didn't go much and I find I do my makeup less when that's the case.

As far as a review on September's shelf  they are all products I've used before. I'm not sure either My Little Pony palette is doing what I want, but I also feel like I didn't give either enough of a chance to know for sure.

September Looks:

1)


2)


3)


4)

5) If I'm going to recolor this hair, it's time... Thoughts? Let me know in the comments below!


6)


7)


8)


9)


10)


I think I did okay. 

Shooting for at least 14 looks in October, with these products:


Storybook Cosmetics*, Colourpop, and Revolution eyeshadow palettes.

*My hubby bought me this palette, many Christmases ago, I have no idea where from, but since he doesn't stray to far into makeup online I assumed Ulta. Sad to see what happened to the brand, the products were cute.


We'll see how I do with just these glosses, I may end up pulling some more color (beyond nude).


Have a great day,

Craftin' Wife

Monday, October 2, 2023

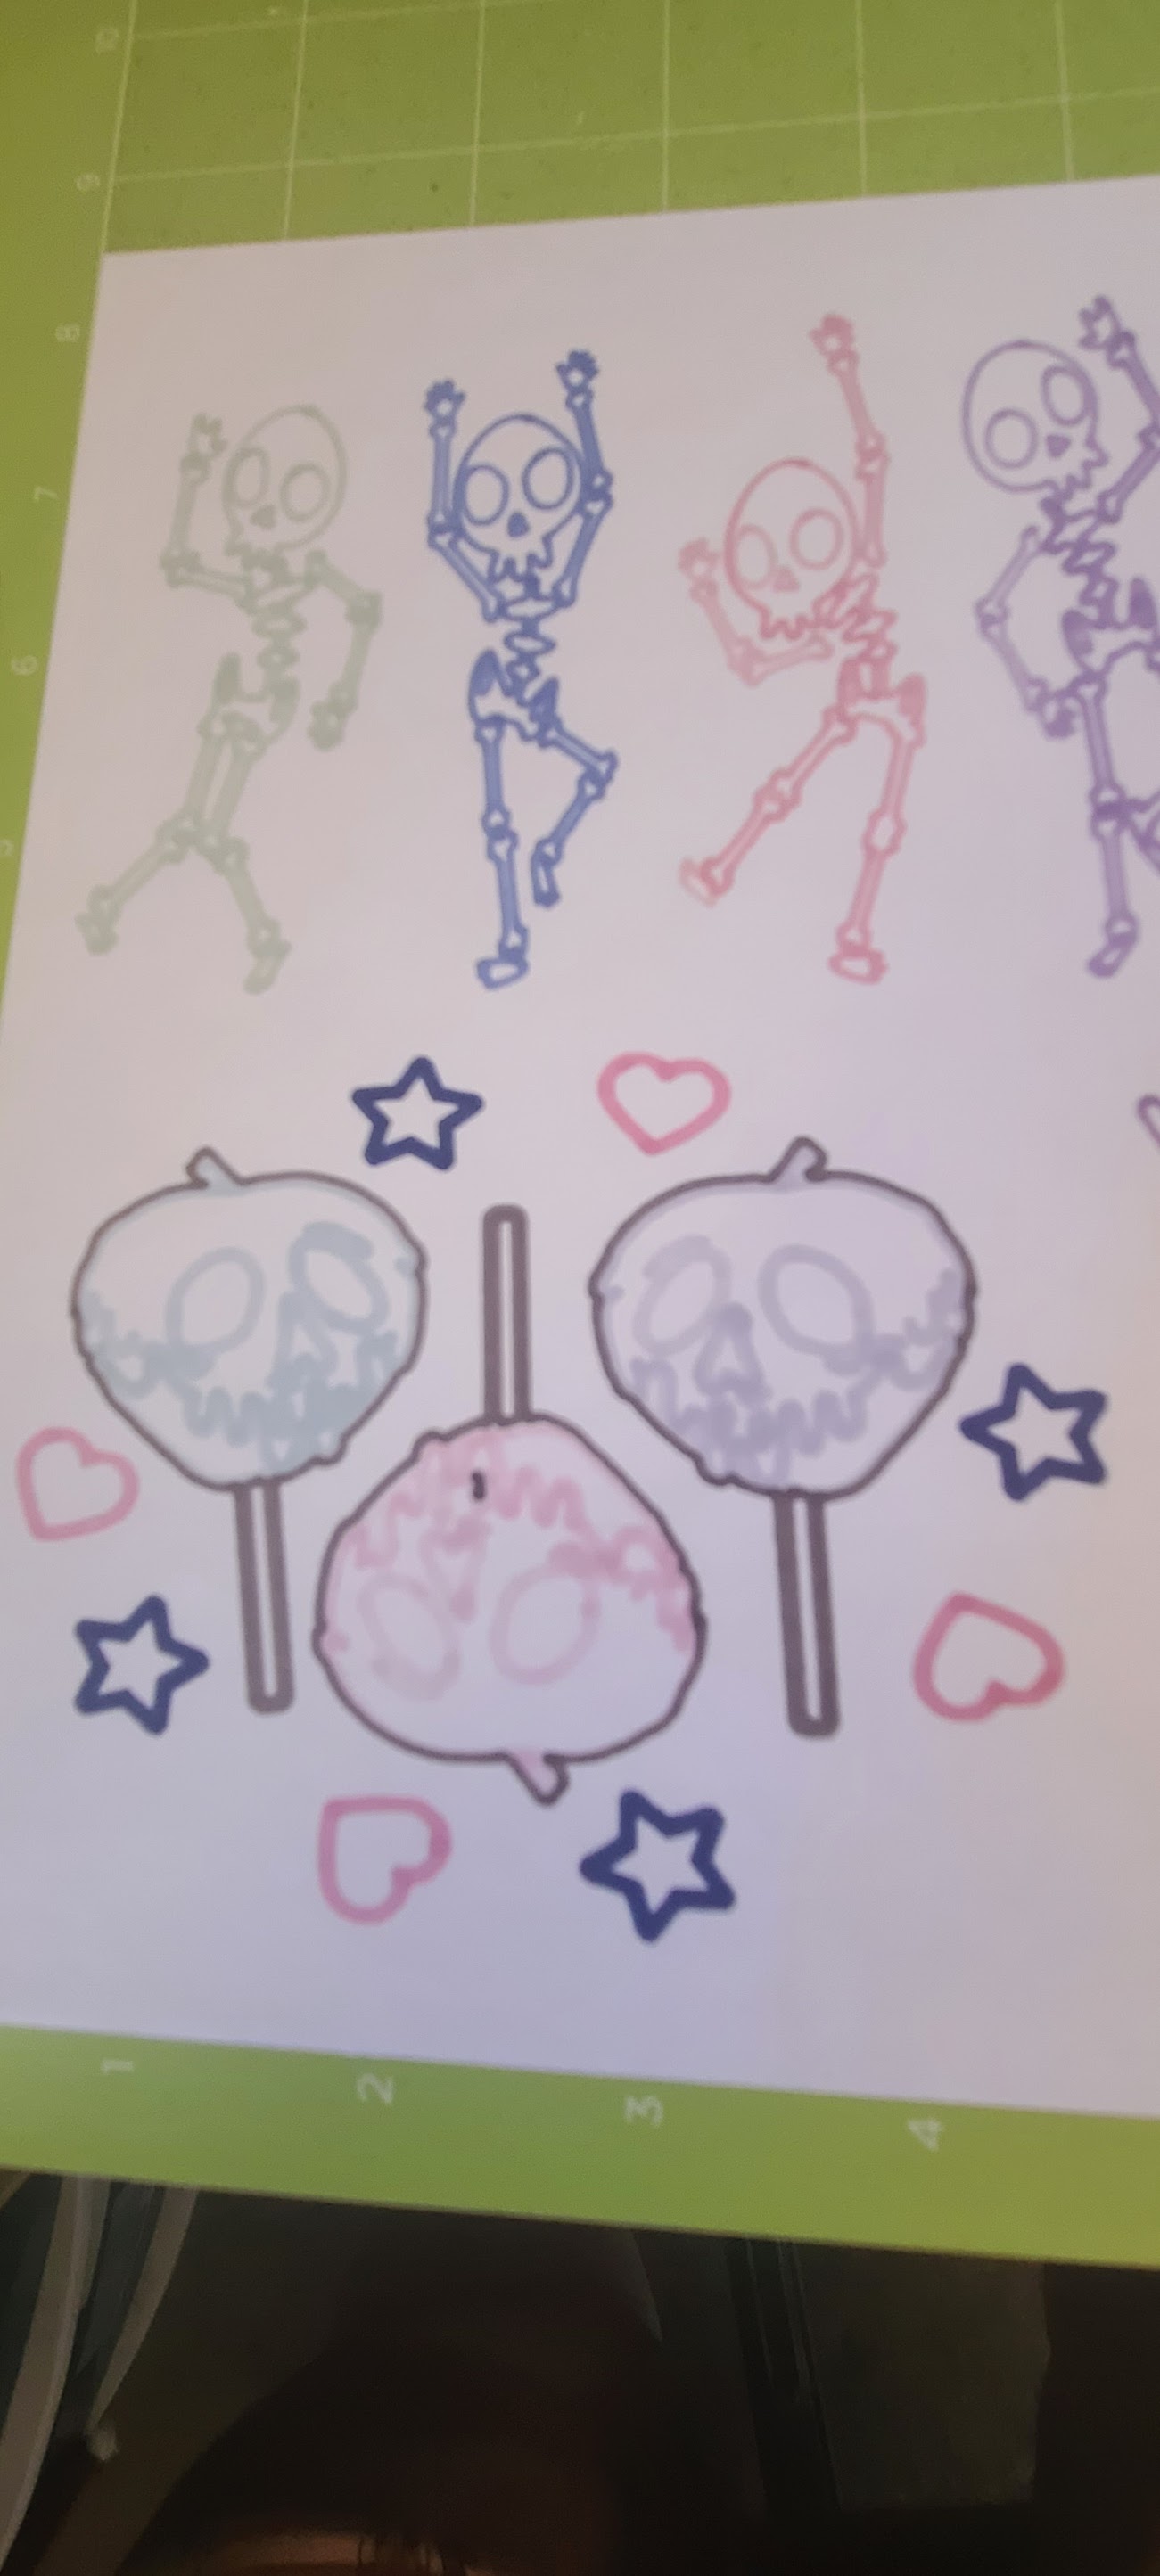
Infusible Ink Markers with Copy Paper.... Probably Not A Great Idea

 Hey Y'all!


This went badly. I assume it was a copy paper issue. In my small testing it did well.

 Anyhow hubby's mug caught fire in the mug press. It was a mess. I'm still trying to get the paper off the mug to see how bad it really is. My craft room smells like burnt paper. Plus I mad about the time wasted, and I feel bad I did his first and now it's ruined.

I followed the directions on the mug that said temp of 365F, but oof...

I decided to do mine in the air fryer, and while it's not great it's far better than his.


I'm not going to share the how to, because don't... but enjoy my journey today in pictures!

Supplies:

Infusible Ink Markers

Sublimation Mugs

Copy Paper

Heat Tape


The draw portion was time consuming, but went so well...

It looked so pretty!


Prep was easy.

I had a bit of a tough time getting the mug in the press, it was snug!


 Burnt!!!


Mine:
It's a lot lighter than I pictured in my head. I assume the issues are- 1) Copy Paper 2) Lack of Pressure 3) Colors on screen vs. IRL.


So, not a fan. Now you know too.

Have a great day,

Craftin' Wife