Hey Y'all!
I missed blogging last week, and was excited to get back in the craft room again. (Dog Sitting Bubbles was fun though! Check out my other social media for pics!)
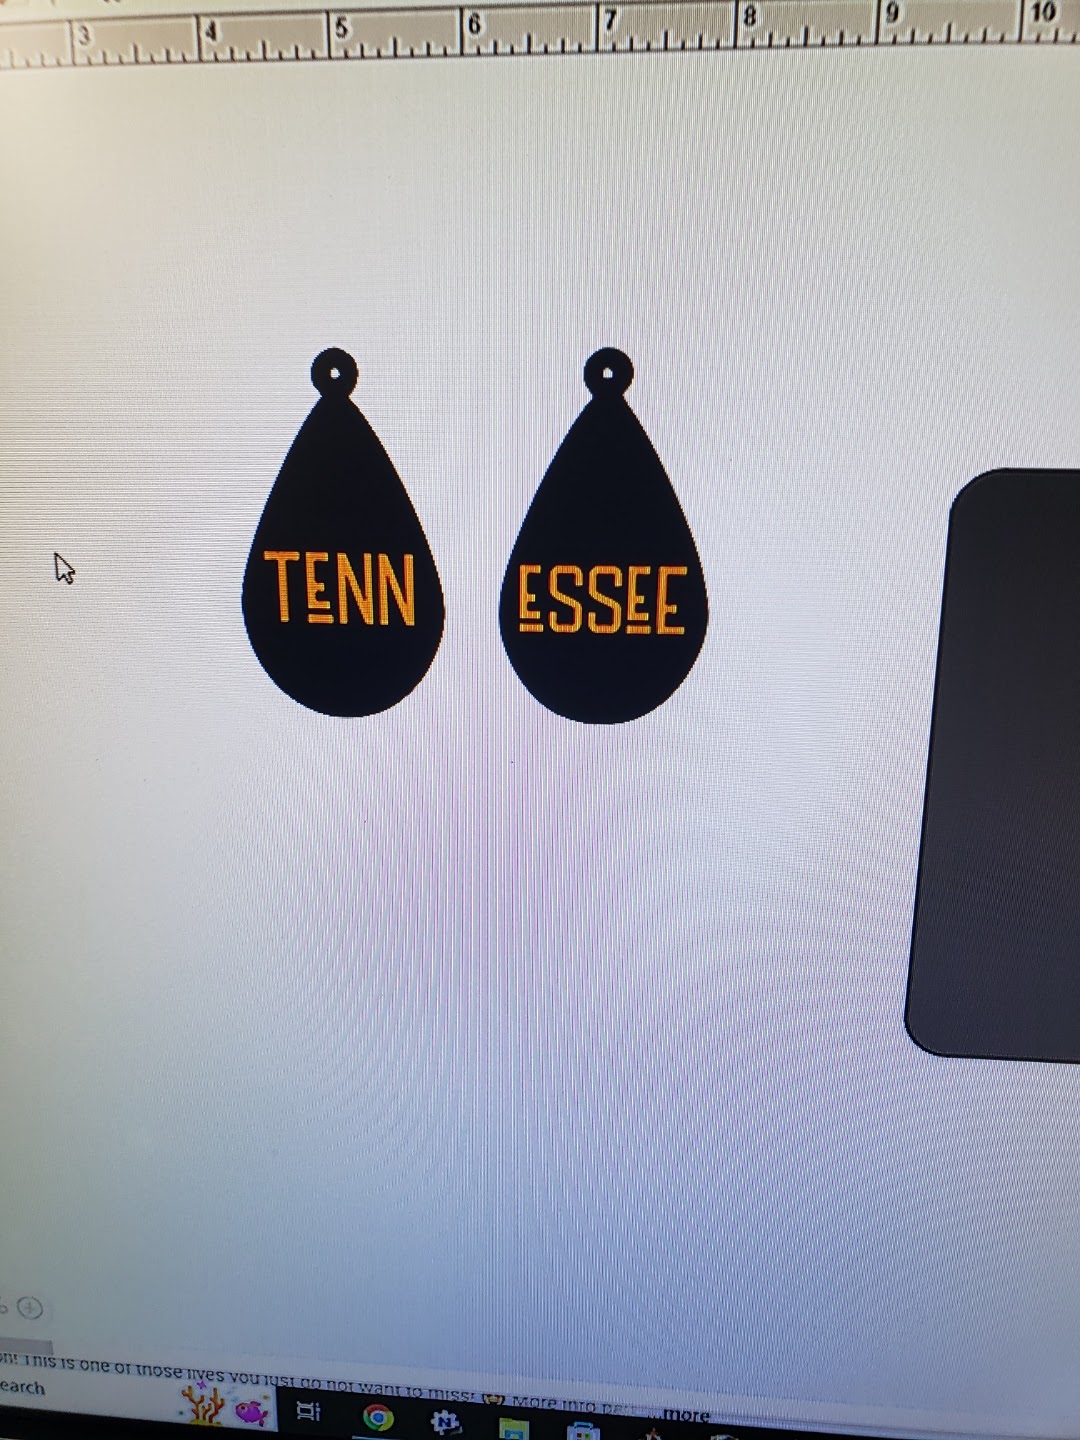
Today I'm going to make earrings from DT Leather. It was my first time using it & it cut so well! I originally chose more pressure and while that worked fine it seems like it may have been too much, so when I went back for a second cut I did default pressure. That worked flawlessly! I was happily surprised, and wish I'd have bought more. (I did get 2 rolls of each, blue, black, brown, and white.)
{Online shows and says red, but in store it is a light brown. This may have changed since I purchased.}
Supplies:
Cricut Machine (I used my Explore Air 2 for this, any cutting machine that can cut faux leather will work.)
Fine Point Blade
Fabric Grip/Pink mat (The Standard/Green may have worked, but I didn't try it.)
Brayer
DT Leather
HTV (I just used scraps.)
Weeding Tool
Cricut Easy Press Mini (An iron or your standard press would work if you don't have a mini.)
Jump Rings (4)
Earring Findings (4)
Earring SVG (There are tons in Design Space, however the SVG files I used for these 2 pair are from Makers Gonna Learn.)
Pliers (I like to use two pair to separate the jump rings.)
How-To:


This short video shows loading the mat into the Cricut, which settings I chose*, and the actual cutting process of the leather.
*As stated above I decided to use default pressure on my second cut. (When I decided to do an additional set of tear drop, for extra support, and dual sided earrings.)

Look how well that Dollar Tree faux leather cut! If you wanted you could add your jump rings & findings here and have a nice pair of earrings.
I'm a bit extra, so....


Do you have any questions? Need to see something in further detail? Let me know in the comments below!
Have a great day,
Craftin' Wife
No comments:
Post a Comment
Hey Y'all!
Have a great day!