My passions lie in the beauty industry (since 1998) & the Craft industry (since childhood, but truly re-ignited in 2010).
Beauty & Craft inspiration, product reviews, and how-to's, as well as general life stuff..
Skewers, toothpick, something to stick into the cake(s).
*Colors and size up to you!
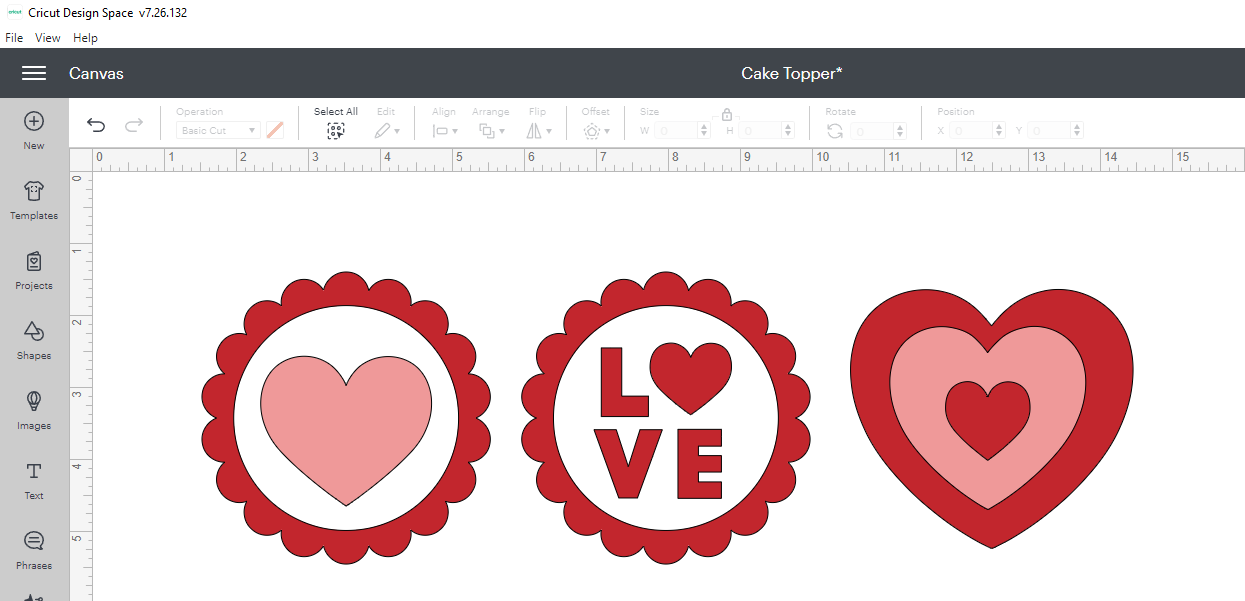
Image on the canvas:
I've change the colors to match the materials I plan to use. This isn't necessary, but it helps to visualize your finished project. (I do end up changing them again, after I change my mind...)
What it looks like in the layers panel..
Next, I duplicated the image:
The duplicate is going on the backside of our cake toppers, to "pretty it up" & add some stability.
Then hid the top layer, over in the layers panel...
After that, I added an offset:
The offset is just for another bit of dimension to our cake toppers.
Here's a final look at our canvas, and what the final will look like:
The paper I've chosen is pink, and the offset is a Party Foil in a deeper pink. The red & white are glitter vinyl. Lastly the backing is that same pink cardstock.
Now that I'm ready to cut it all, here are the materials I've chosen (listed above):
Click Make It:
As you see here we have 4 mats to prep:
White Glitter, Party Foil, Paper, Red Glitter. It will prompt you through. I started with the third to do paper first, then both glitters, finishing with the party foil, just so I didn't have to change settings as much.
Mat 3-
To load your mat, follow the on screen and machine prompts.
Press the arrow button to load, and the "C" Cricut logo, or Play button to begin the cut.
Progress:
One down, 3 to go!
Next Mat: Red Glitter
Same process, but change your setting (see how below).
Back to the top with Mat 1: White Glitter
Lastly, the Party Foil-
Material Settings:
Turn dial on machine to custom, follow on screen prompt. Browse all, search Party Foil, Select.
Everything is cut, now I need to put it all together!
Once finished, click Done it will take you back to the Canvas.
Here's a simple pieced together video of the cutting process:
As you'll see in the end of the video the Party Foil wasn't adhered to the mat well.
When that happens take these steps:
Pause the cut (fix material if possible, un-pause by re-clicking the pause button, continue as normal)
If not fixable, as was the case here-
Unload mat
In DS cancel the cut
Fix the material, and start again.
Clicking Done brings us back to the Canvas, you can Save, close out DS, or refer back to the screen to weed (if applicable) your vinyl, adhere your layers in the correct order, put the final project together, etc.
Put it all together:
The parchment paper trick is great for aligning before you're committed and stuck! (Sometimes I eyeball it, sometimes I do this.)
Place the vinyl (with transfer tape if you're using it, with this project I didn't think it was needed) on the parchment paper, with just a sliver of the sticky bit off the parchment.
Align, then adhere the exposed piece.
Slowly peel back the parchment paper & adhere the rest of the vinyl piece.
Tada!
Repeat as many times as necessary...
These glitters are so pretty!
Once that's done we need to adhere our main piece to the Party Foil! I used an ATG for this, but you can use whichever adhesive you like best.
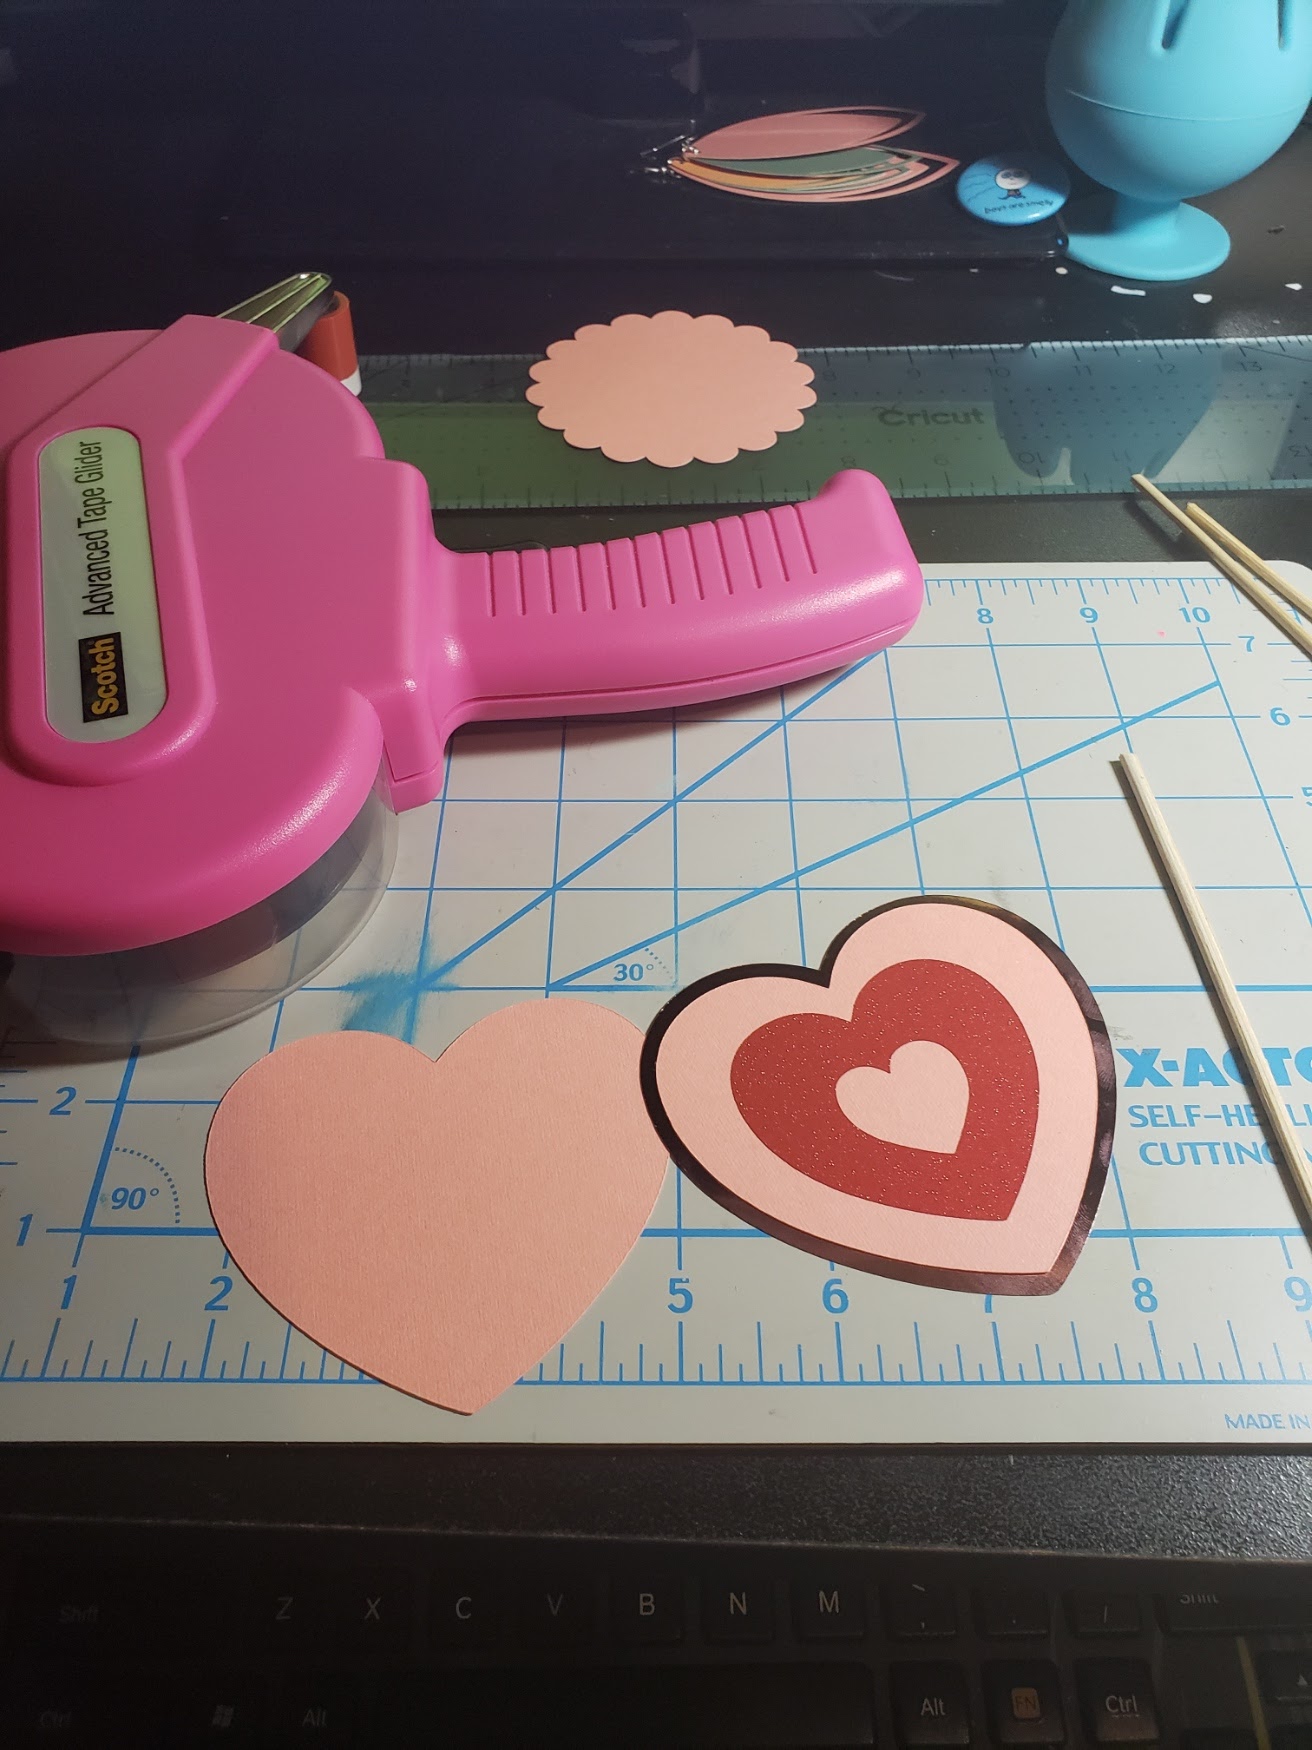
Last, I again used the ATG to adhere the skewer to the backing, and add our main piece to the front:
These turned out even better than I had planned!
Backs:
All put together:
Join me tomorrow as we create a different project using an android device.
An questions? Need to see something in more detail? Leave a comment below!
No judgement please, this basement is a mess. As you may know we had a flooding, water/moisture issue and had to take care of that. Then we had a water leak (pipe) in the wall between the windows (coming from the upstairs bathroom). Then other non-basement issues. Now it's ready to be redone/reorganized.
First, no we don't plan to redo the drywall currently (except the bathroom walls). That's just a time and money commitment we can't make right now, especially since it wasn't done right the first time.. We are going to seal and paint the cement blocks, and possible add a trim piece, so that it looks more like a half wall design on purpose. This is more of a for now update than a forever one. (Eventually we'd like to redo the whole thing, and make it a full bath down there.)
Ok... Here are the current pictures:
We really need to go through everything that is potentially ruined from the flooding issues, manage & organize the eBay business side, and rearrange. All the storage solutions were bought last weekend, and tomorrow is start day down there...
The first side, I'll refer to as "downstairs"...
Everything that was on this side kept getting moved towards the middle during the flooding, then moved out of the way more and more-
The Basement Side-
Fortunately this side didn't flood much, just by the door to downstairs.
These boxes are empty, in prep for our stuff:
The Plans:
Obviously not to scale, but rough idea. Moving a few things, but more organization and clean up. (And getting rid of...stuff... hubby has insisted we keep for no reason whatsoever.)
On this side it really is mostly clean up/organization, and moving the exercise stuff to the furthest corner.
In the basement it's adding a TON of shelving, with bins for better eBay inventory storage, moving the freezer over, getting rid of larger un needed items, etc.
I look forward to getting it all in order!
Thanks for reading. If you have any storage solutions feel free to share them in the comments below!
Have a great day,
Craftin' Wife
FUN FRIDAY:
My sister and I had this conversation recently, and we both prefer to do it in Winter. (After the holidays, but well before Spring.) You're stuck inside anyhow, and it'll keep you warm but not hot. Y'all NE Tennessee goes from 40 degrees, to 80. There is no in-between, and if by chance there is- it'll last a week tops.
2)This shade for liner ain't it. (Also yay, more grey. You'll see.) Also struggled with lighting this day, the bathroom walls were still wet from painting so I didn't wanna go in there.
3) Took time with the lip liner & all!
4) I still can not do winged liner... I tried.
5)
6) No makeup, maybe it's what irritated my eye, maybe not. Either way it's a no makeup day.
7) This sweater was a hot item this past month too, lol.
8) Tried a new thing with foundation & highlight, not a fan. Too yellow.
9)
Look though, my hair is up!
10) Now we are fully in our grey series from the month...
11)
12) Ok, but this hair is cute... At least for what my current hair can do.
13) Look.. a ponytail!
14) Used the Colourpop Super Shock Shadow (Beat Drums) as an eyeliner. Like the look, but could have went more bold.
15) It looks less grey, but it is the same palette...
16) Lighting matters. I forgot to take a pic til late in the day, in the car. Too bad too, this wasn't brown or grey.
17) No Makeup Makeup look.
My favorites? Probably 9 & 14. I promise to be more versatile this month. I really didn't realize that when it wasn't grey it was almost the same shades of brown over and over. Oops!