My passions lie in the beauty industry (since 1998) & the Craft industry (since childhood, but truly re-ignited in 2010).
Beauty & Craft inspiration, product reviews, and how-to's, as well as general life stuff..
Skewers, toothpick, something to stick into the cake(s).
*Colors and size up to you!
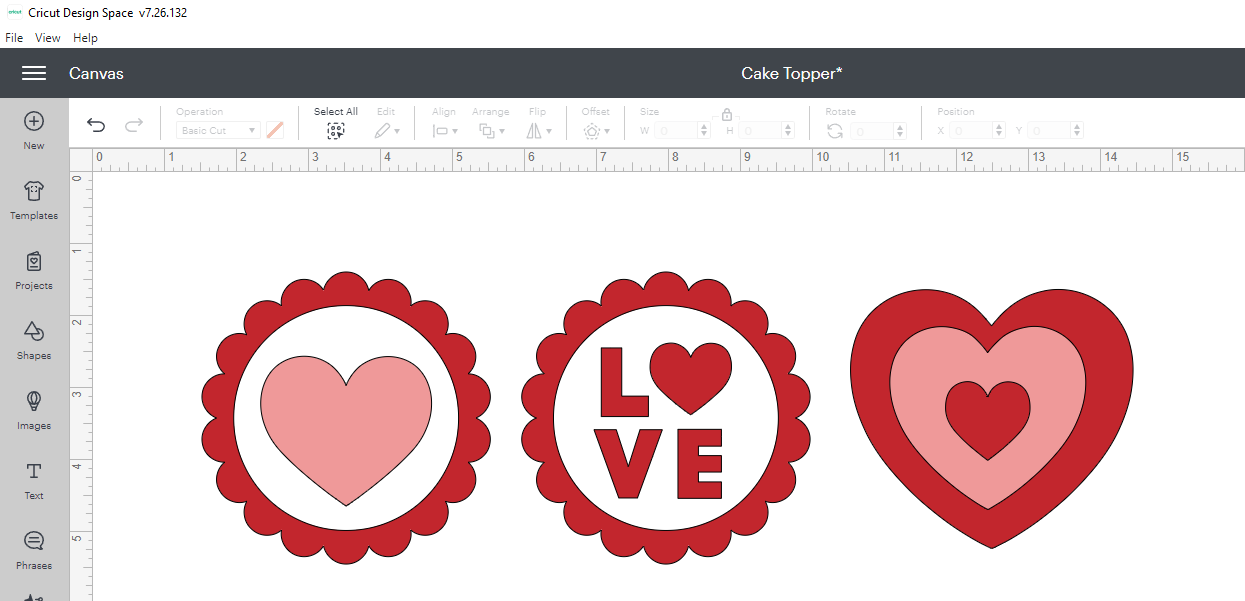
Image on the canvas:
I've change the colors to match the materials I plan to use. This isn't necessary, but it helps to visualize your finished project. (I do end up changing them again, after I change my mind...)
What it looks like in the layers panel..
Next, I duplicated the image:
The duplicate is going on the backside of our cake toppers, to "pretty it up" & add some stability.
Then hid the top layer, over in the layers panel...
After that, I added an offset:
The offset is just for another bit of dimension to our cake toppers.
Here's a final look at our canvas, and what the final will look like:
The paper I've chosen is pink, and the offset is a Party Foil in a deeper pink. The red & white are glitter vinyl. Lastly the backing is that same pink cardstock.
Now that I'm ready to cut it all, here are the materials I've chosen (listed above):
Click Make It:
As you see here we have 4 mats to prep:
White Glitter, Party Foil, Paper, Red Glitter. It will prompt you through. I started with the third to do paper first, then both glitters, finishing with the party foil, just so I didn't have to change settings as much.
Mat 3-
To load your mat, follow the on screen and machine prompts.
Press the arrow button to load, and the "C" Cricut logo, or Play button to begin the cut.
Progress:
One down, 3 to go!
Next Mat: Red Glitter
Same process, but change your setting (see how below).
Back to the top with Mat 1: White Glitter
Lastly, the Party Foil-
Material Settings:
Turn dial on machine to custom, follow on screen prompt. Browse all, search Party Foil, Select.
Everything is cut, now I need to put it all together!
Once finished, click Done it will take you back to the Canvas.
Here's a simple pieced together video of the cutting process:
As you'll see in the end of the video the Party Foil wasn't adhered to the mat well.
When that happens take these steps:
Pause the cut (fix material if possible, un-pause by re-clicking the pause button, continue as normal)
If not fixable, as was the case here-
Unload mat
In DS cancel the cut
Fix the material, and start again.
Clicking Done brings us back to the Canvas, you can Save, close out DS, or refer back to the screen to weed (if applicable) your vinyl, adhere your layers in the correct order, put the final project together, etc.
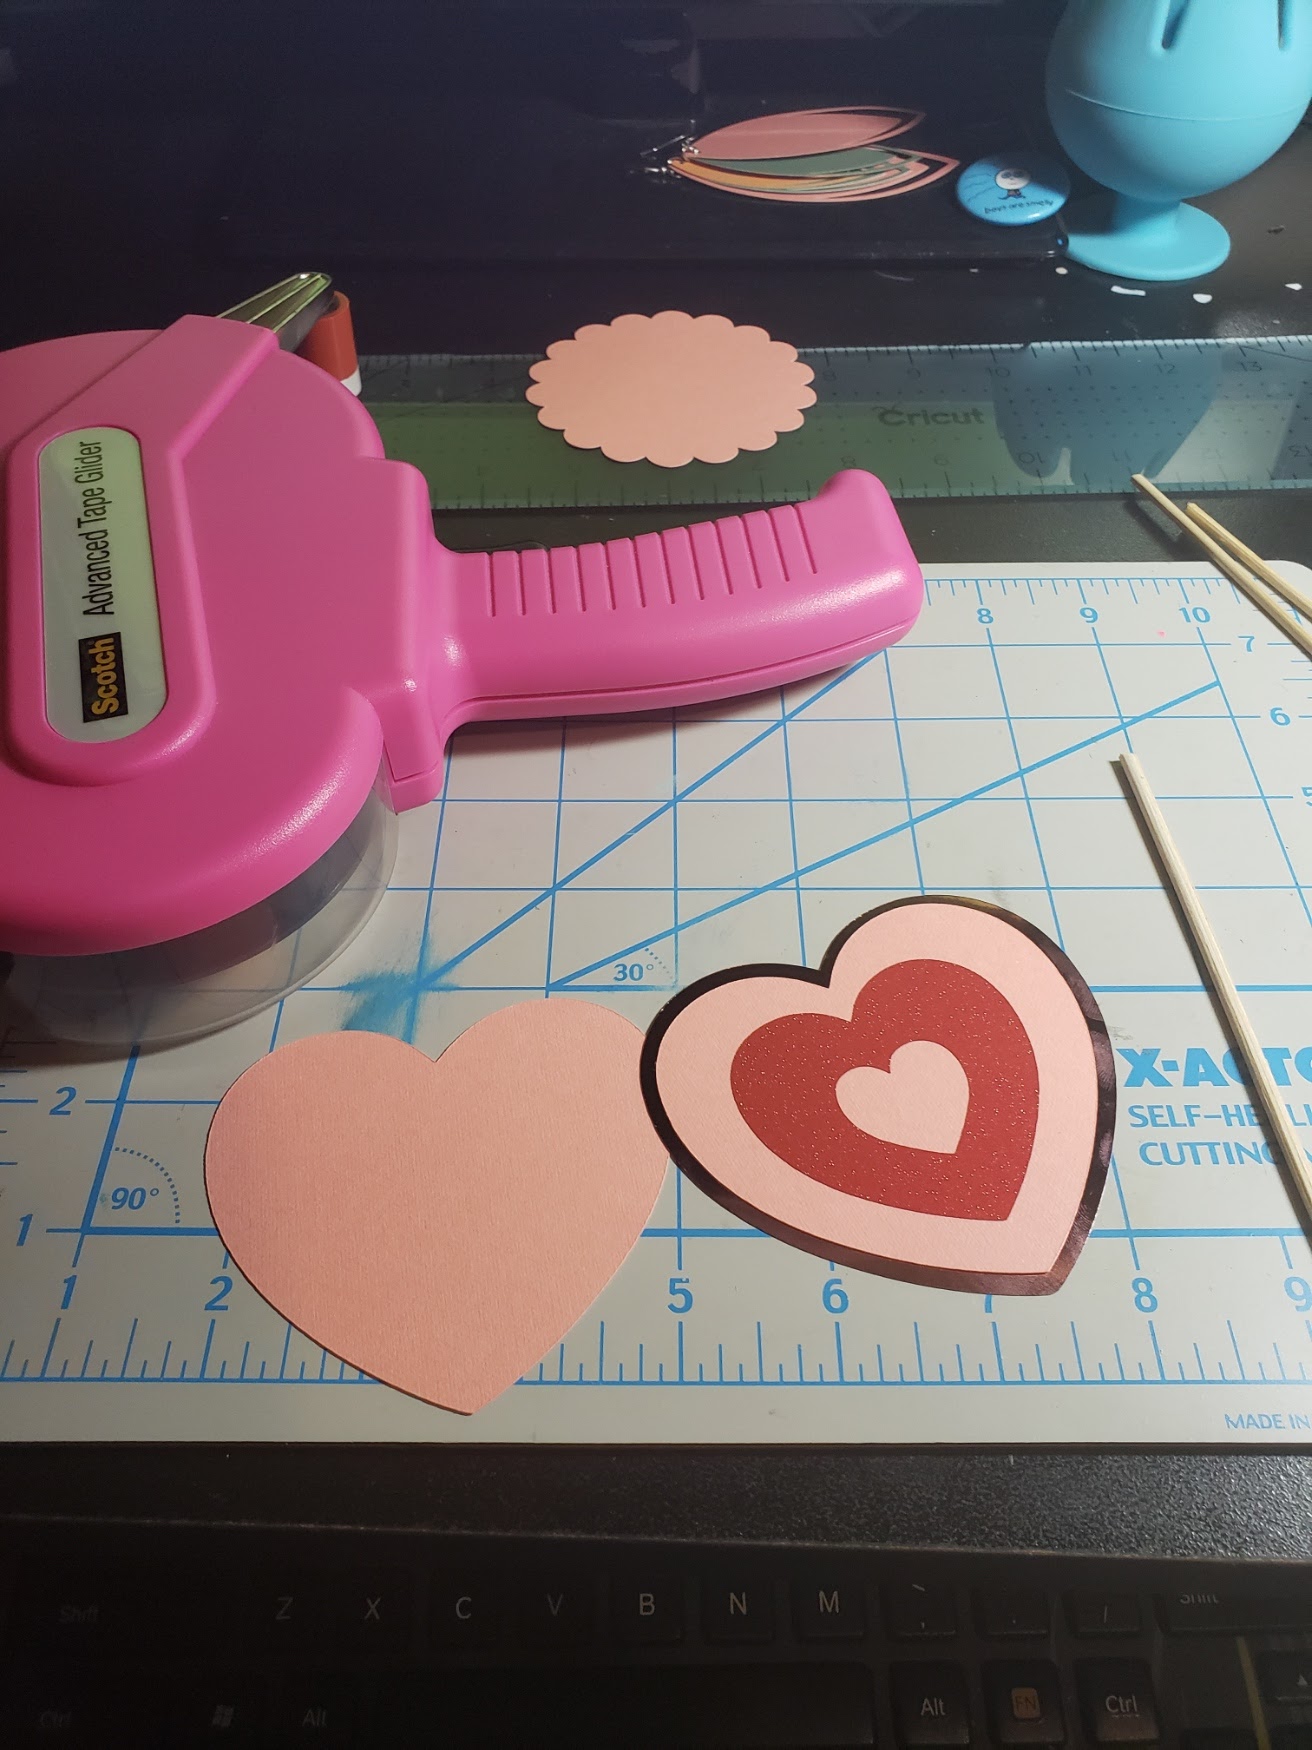
Put it all together:
The parchment paper trick is great for aligning before you're committed and stuck! (Sometimes I eyeball it, sometimes I do this.)
Place the vinyl (with transfer tape if you're using it, with this project I didn't think it was needed) on the parchment paper, with just a sliver of the sticky bit off the parchment.
Align, then adhere the exposed piece.
Slowly peel back the parchment paper & adhere the rest of the vinyl piece.
Tada!
Repeat as many times as necessary...
These glitters are so pretty!
Once that's done we need to adhere our main piece to the Party Foil! I used an ATG for this, but you can use whichever adhesive you like best.
Last, I again used the ATG to adhere the skewer to the backing, and add our main piece to the front:
These turned out even better than I had planned!
Backs:
All put together:
Join me tomorrow as we create a different project using an android device.
An questions? Need to see something in more detail? Leave a comment below!


No comments:
Post a Comment
Hey Y'all!
Have a great day!