Hey Y'all!
Today we're going to build on that foundation of learning we have from our Design Space Course blogs, and make a few cards with the Cricut Joy. These could be easily modified to work with other die cut machines, and if you'd like a tutorial with the larger Cricut machines let me know in the comments below!
Design Space Blogs:
https://craftinwifescreations.blogspot.com/2023/05/how-to-cricut-design-space.html
First off, I couldn't stop at just one once I got the Joy out and set up for this blog, so though the processes are virtually the same I have three cards to share with you.

Supplies:
Cricut Joy Pens (I used the metallic silver glitter, the silver marker, and the coral pen.)
Steps:
1) Gather all your supplies and get everything set up to best suit your crafting needs.
 |
| My Joy Bag. |
 |
| Getting Set Up. |
 |
| Choosing materials. |

3) Prep your mat and get your materials ready.

4) Follow the on screen prompts to choose your mat option, and material type(s). Connect your machine, and load the prompted material (in this case our pen).


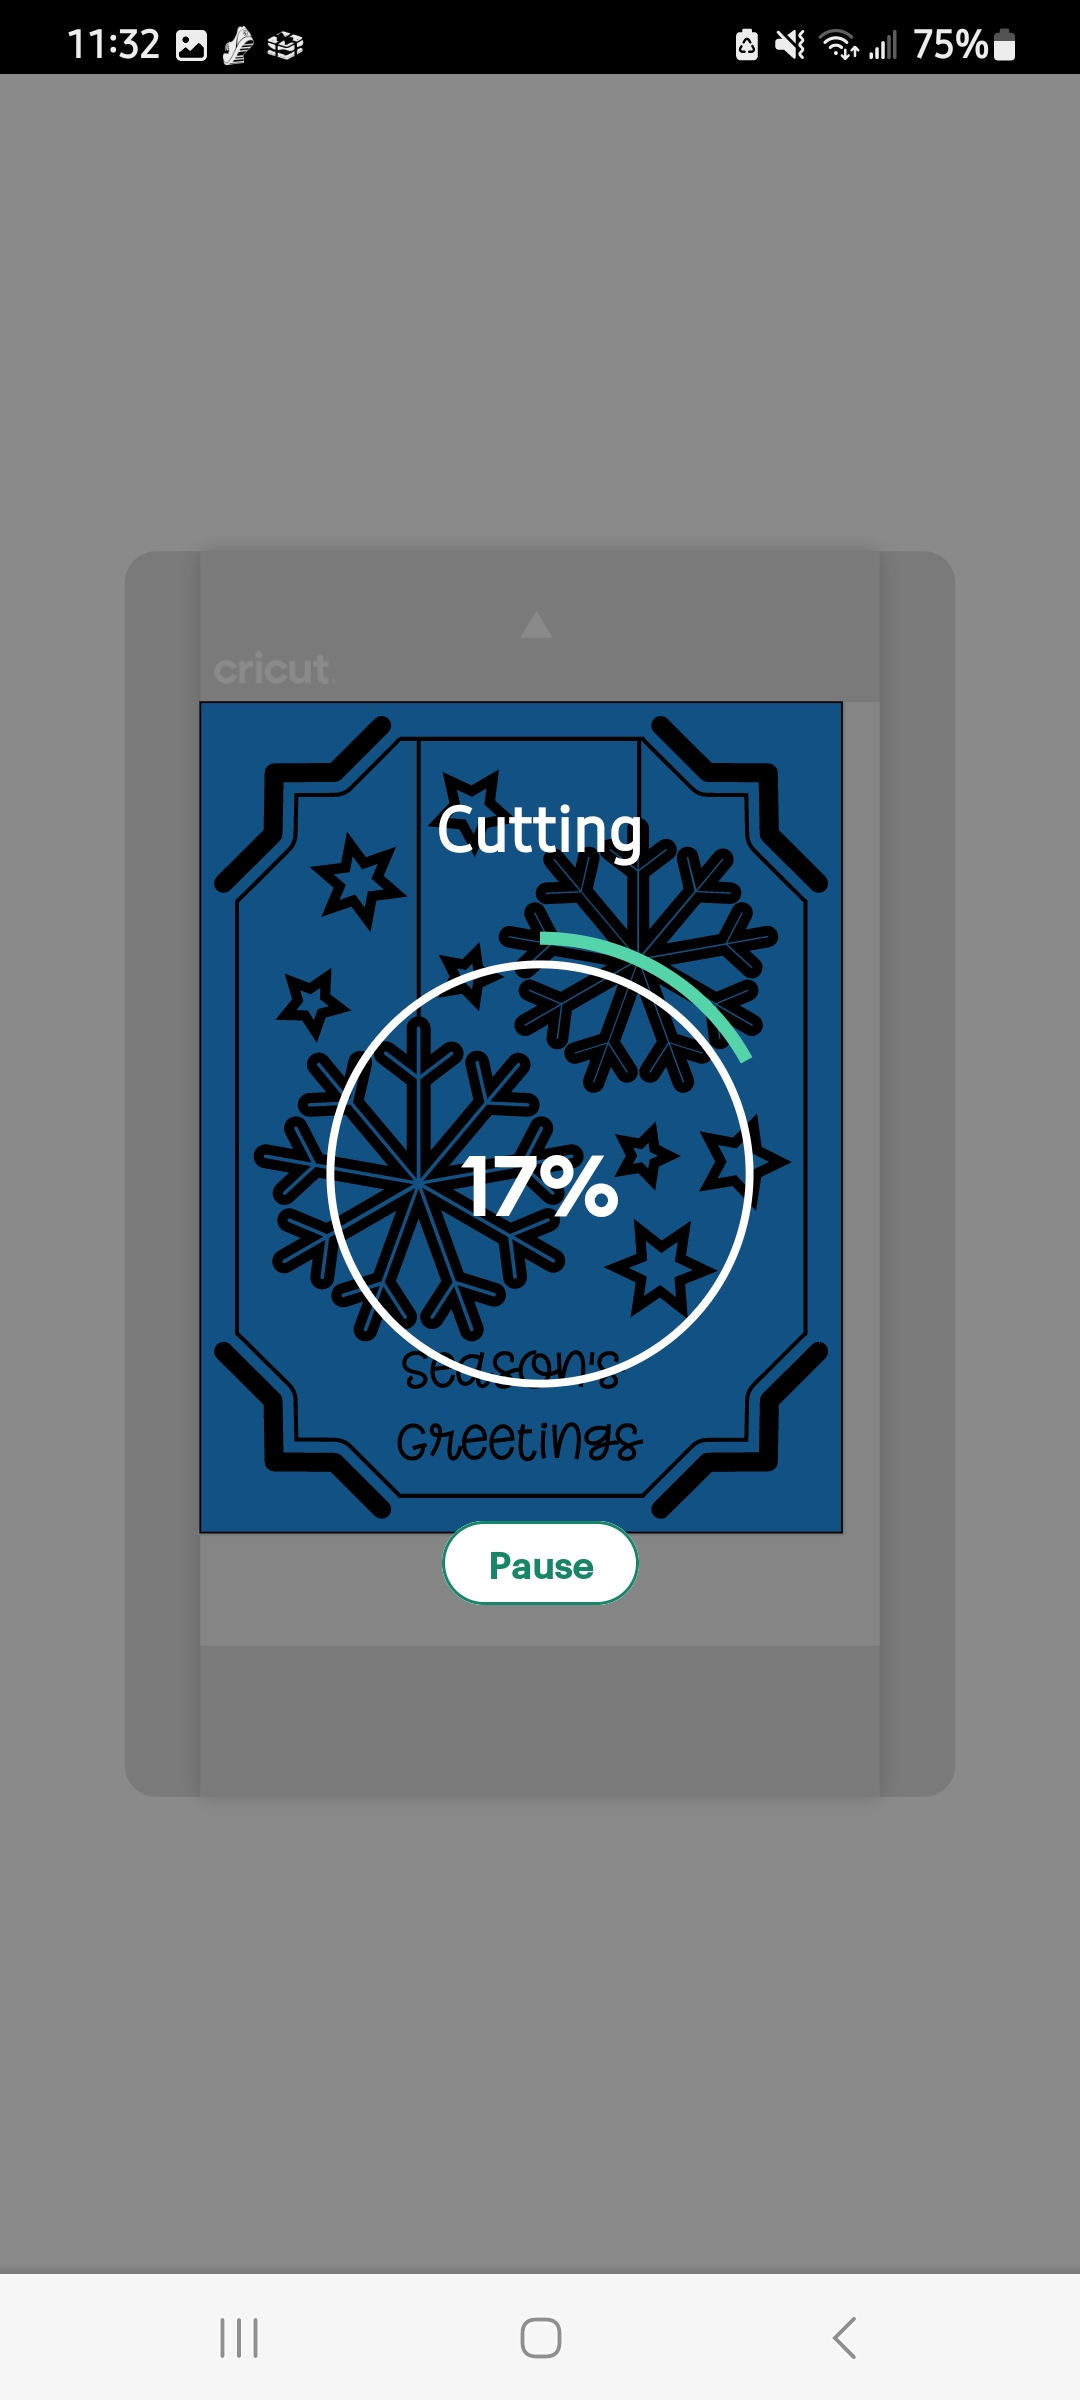
5) Follow the on screen prompts, and allow the machine to draw. Then when prompted, switch out the pen for the blade, and cutting will begin.


 |
| Swapping out tools when prompted. |


No comments:
Post a Comment
Hey Y'all!
Have a great day!