My passions lie in the beauty industry (since 1998) & the Craft industry (since childhood, but truly re-ignited in 2010).
Beauty & Craft inspiration, product reviews, and how-to's, as well as general life stuff..
First, let's start with font manipulation, and all the possibilities there-
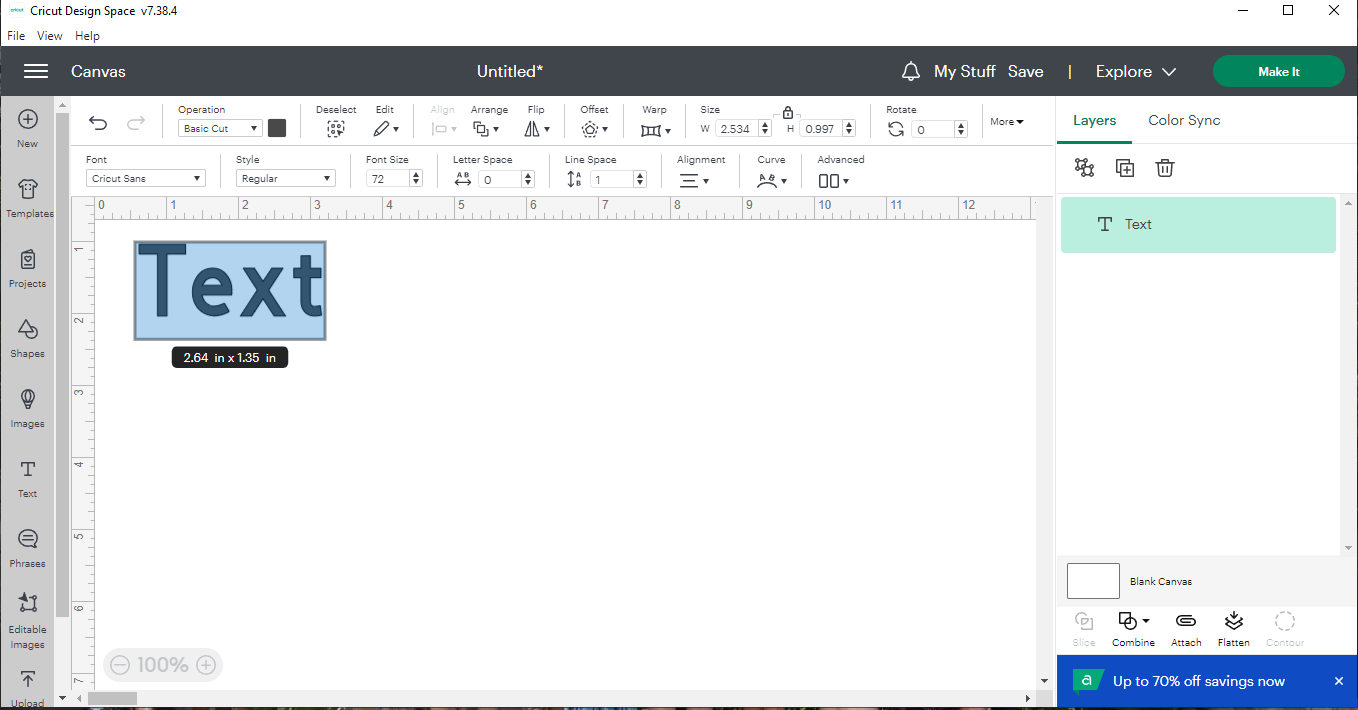
1) Design Space always defaults to Cricut Sans Text/Font.
2) Once you double click your text, you can type out whatever you'd like. The font box will also come up:
Tab 1 is Cricut Fonts
Tab 2 is the fonts you have installed
Tab 3 is anything you've bookmarked
Tab 4 is any fonts you've used recently
You can resize your text by clicking any of the corners, or mid sections, with your mouse and dragging. You can also resize your text by clicking on it and using the top tool bar: Font Size, Letter Space, and Line Space, as well as size (above the text tools) are all helpful in getting your sizing just right.
3) Next is the "style" either a regular or writing font. Writing fonts are great for use with the markers, or pens!
4) Alignment tools, we covered these in the How To Design Space Blog (linked above).
5) Curve- You can set the curve of the text where ever you'd like by using the slider.
6) Advanced Tools:
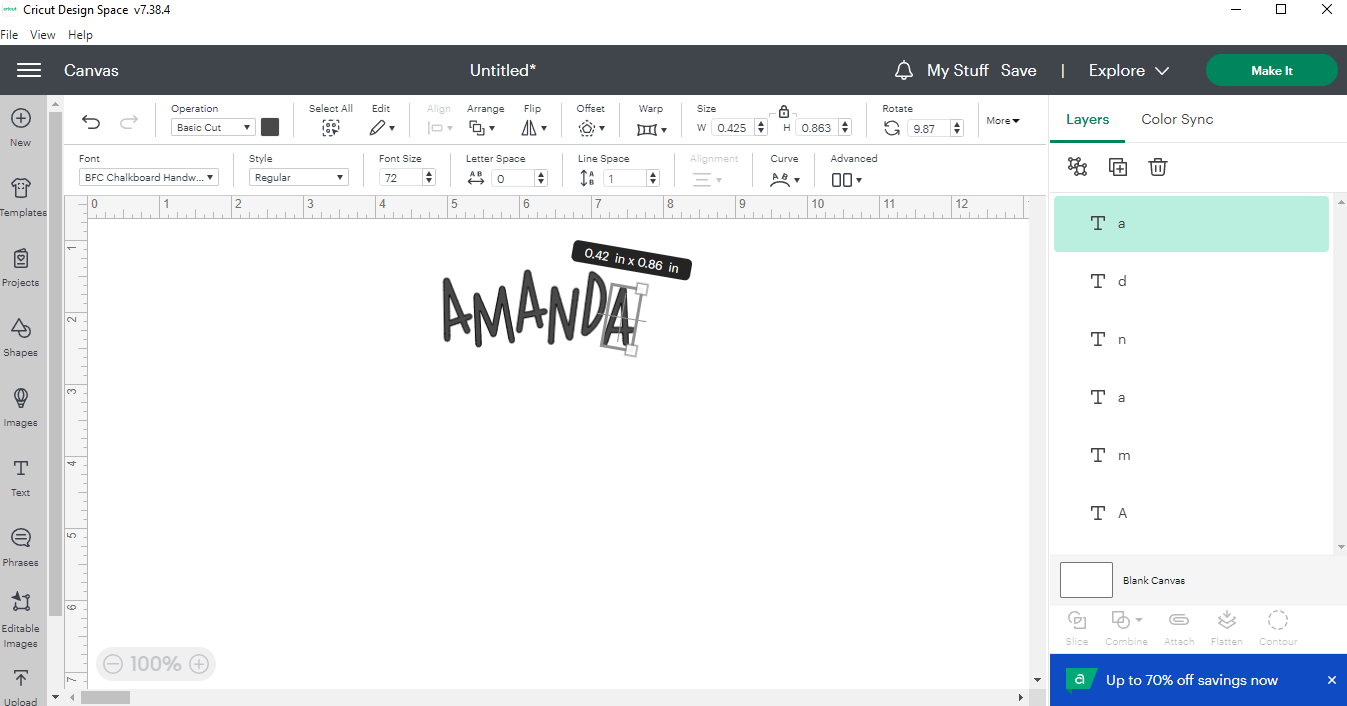
Ungroup to Letters, Lines, or Layers.
7) Now each letter, once ungrouped, is it's own image, and can be moved independently.
8) Offset. (We've went over this before too.)
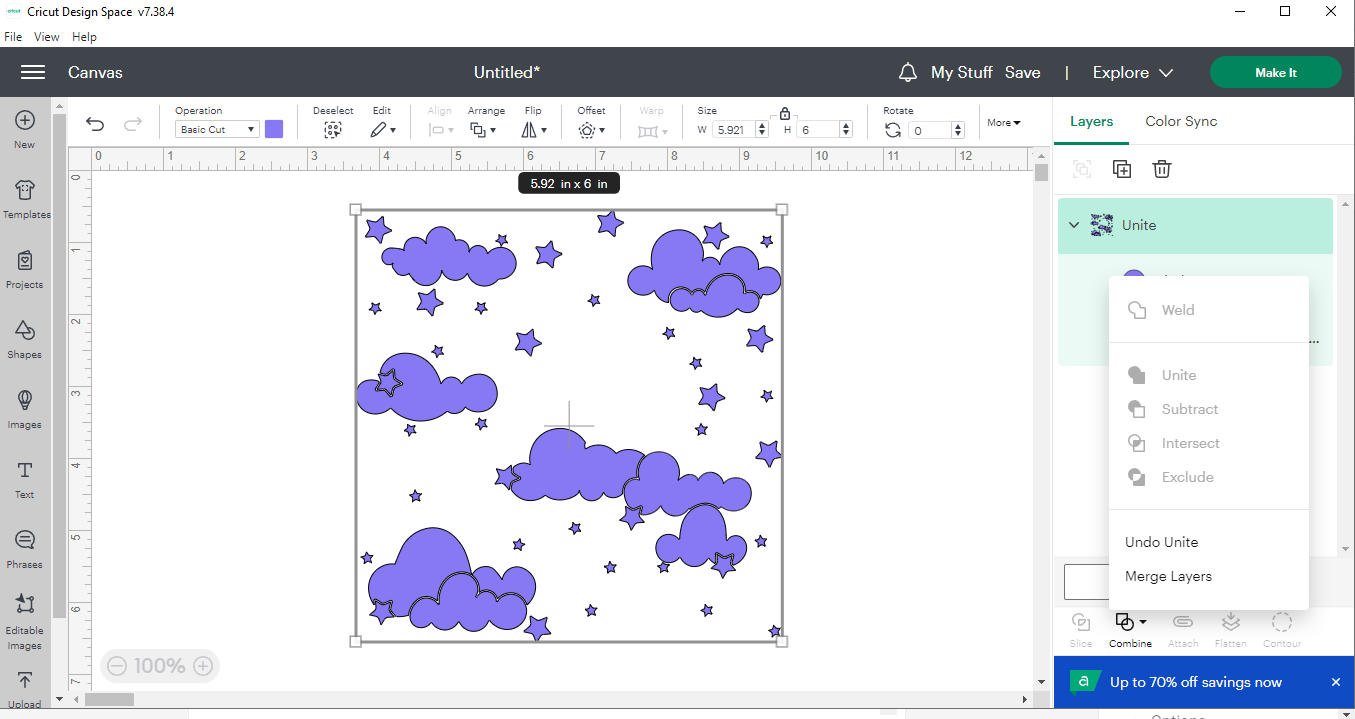
9) In the layers panel, you can see each letter is still independent, so we'll unite them, and then group the (now 2) images. Uniting them will keep the placement and cut out as one, rather than each individual letter cutting out of order. This is especially helpful with script/cursive fonts.
First up today is how to cut larger than mat, with your Explore, Maker, or any machine without using smart materials.
I'll start with written instructions, and follow with pictorial.
Written Instructions:
1) Pick your design, and size to fit the material you've chosen to adhere it to. (Large sign, wall decal, etc.)
2) Find the easiest way to SLICE and fit to your mat. Try not to separate in the middle of a letter, number, or key element.
3) Slice each section needed, remember you can only slice with 2 layers.
4) Load material on the mats, CUT.
5) Weed design, apply transfer tape if needed.
6) Piece back together. I like to adhere one section at a time and then work from there.
7) Once all pieces are back together and adhered I like to burnish it all down one more time.
8) Admire your work!
Pictorial Instructions:
(1-4, I'm assuming if you're looking at how to do larger than mat you know how to cut, and layer. If you need help with that please message me on social media, or leave a comment below.)
I'll use a 12x24 Mat first, followed by 12x12.
I chose this one, because I'm from Mtn TN, not music. This design (available in DS) is too big to fit either mat.
In hindsight, if this were a real cut I was going to make, I should have chosen the straight edge square, and not the curve, but the process is the same.
I quickly figured out this was going to have to be 3 pcs. I decided to slice at mountain peeks, and avoid slicing into letters as much as possible. You slice where it's easiest for you to piece back together.
Separated!
For this size a 12x24mat would need loaded 3 times.
A 12x12 is going to be 6 mats.
Working with the slices I already took for the 12x24 mat.
Now it'll all fit on 12x12 mats.
Mat one, of 6 if using a 12x12.
Once it's all cut, piece it back together, and apply. I like to do one section at a time, that way I can work a bit easier, and not have too many elements flopping around at once.
(Would you like a video? Let me know!)
OTHER TIPS:
Instead of duplicating an image in DS, and trying to figure out how many copies you can fit, use the PROJECT COPIES from the make screen. You can still move images around from here if needed.
How to turn Grid on & off~
How to change Canvas color:
What other Cricut How-TO's would you like to see? More tips & tricks? Cricut hacks? Let me know in the comments below!
Larger than Joy Cutting Mat!
Step 1) Open DS and choose your image.
2) Load it on the canvas:
3) Choose a shape, I find the square easiest to work with, and lay it over top of your image.
4) Size the square to the limitations, the Joy will allow. (Less than 4in width.)
5) Slice the square from the image. I could have made this longer, and only had two cuts, but this way we get the practice in.
6) Repeat steps 3-5.
7) Get ready to prep your mats and cut your image(s).
8) Connect your Joy if not already done.
9) Cut all your mats and piece your project back together!