Monday, May 15, 2023

How To: Dollar Tree Faux Leather Keychain (Cricut Explore Air 2)

 Hey Y'all!

Sorry I skipped Friday's blog. I completely forgot about it. If you're interested in seeing what I've been doing (craft wise) I post to TikTok at least 3 times a week, and most other social media at least twice. You can find all my links here:

 https://linktr.ee/CraftinWife


For today's blog I'm going to create a Faux Leather Keychain using Dollar Tree Leather & Glow-in-the- Dark HTV!!


Supplies:

(All links are direct to product where applicable. None are affiliate links.)

Cutting Machine, I'm using my Cricut Explore Air 2 

Cut File/SVG- I'll share the one I'm using further down the blog.

Cutting Mats (I'd suggest the green standard grip for the HTV even though I used the blue light grip.)

Dollar Tree Leather

Glow HTV

Heat Press/Iron- For this project I've used my Easy Press Mini

Weeding Tool

Adhesive- I've used what I had on hand, which is Heat 'n Bond Tape.

Optional- Brayer, I do like this tool to adhere the leather to the mat.


On with the How To:

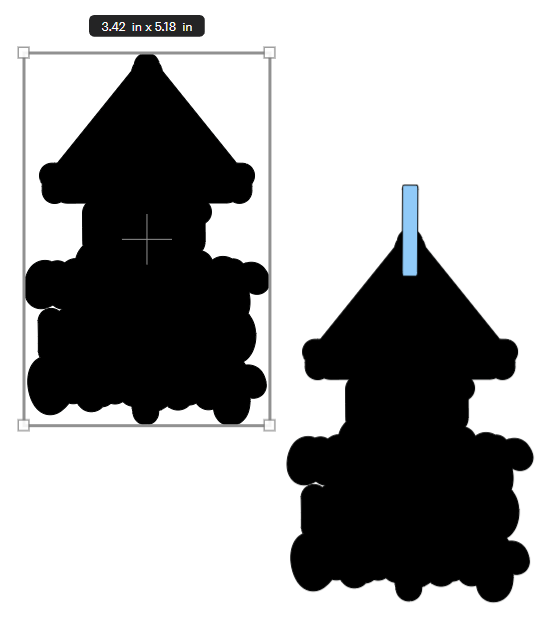
1) Open up Design Space, New Project. Search for the type of image you'd like. I went with a tent/camping theme.

The glow in the dark part.


The image I chose!
2) I just wanted a solid color/1 layer images, so I welded this image. (Unite would also work.)


3) The Faux Leather portion is created using offset.


I found the offset at .25 to be a bit large...

So I lessened it to .15 however there is blank spaces that then need contoured out.


Contour is easily done here with the Hide All option.


4) Now to make the keychain part, I used a rectangle- unlocked it and rotated to fit atop the faux leather piece. (In retrospect I could have went a bit thicker here.)


5) Manually line it up until it's centered, or use the align tools at the top of the canvas.

6) Duplicate the bottom leather piece for our keychains backside.


7) Rotate, Flip horizontal, and align all 3 leather pieces.


8) When you have all that looking how you want it to, weld (or unite) the 3 pieces.


9) Grab the top (HTV) piece, and align.


10) Group the images, then size to your preference.


11) We're ready to MAKE it!

Be sure to mirror if you're using HTV, select your material type, and prep your mat.


12) Prep mat #2.

The faux leather does not need mirrored.


13) Begin the cutting process!


*TIP* 

I always check that the material has cut all the way through BEFORE unloading the mat. If it hasn't you can immediately recut the image by clicking the cut button. 


14) Weed the vinyl image- if you have small lettering like I did be mindful about the dot for the "i" and other tiny parts.


15) Get ready for pressing, line everything up!


16) One your heat source is at the correct temperature, press the HTV and leather.


17) Carefully peel the backing sheet off the project.


18) Prep your adhesive, to secure the front and back of the keychain. Be mindful of the loop for the key ring.


19) Adhere your two sides. I'm using a heat activated adhesive, so I need to cover/protect the HTV and heat press them together.
20) Add your keyring.

20B) Admire your work!


Questions? Leave them in the comment section below!


Have a great day,

Craftin' Wife

Wednesday, May 10, 2023

It's My Blog...

 ... and I'll do what I want to.


Hey Y'all!

I know today was supposed to be a get ready with me, but if I'm being real here (like always) I haven't "got ready" in about a week. So I'll move the get ready blog to the same as the get unready- and share both at the same time. This months Looks that I skipped do to radiation I'll do together with next month, so that'll be a bigger blog.


Today though?

I'm going to share my IBY Beauty Brand Ambassador Unboxing!


**Maybe watch 'til the end of the video, there could be a small giveaway!!


https://www.ibybeauty.com/?rstr=CraftinWife
Limited Time- Use Code CraftinWife25 at checkout for 25% off!

Items in the box: Mini Highlighter, 24k Magic Mini Highlighter, Prosecco Sunkist Glow Highlighter, Maldives Lush Eyeshadow, Fire & Ice Lush Eyeshadow, Dance Party Lush Eyeshadow, Get Soaked Lush Eyeshadow, Silent Disco Lush Eyeshadow, VIP *Carry On Eyeshadow Duo, Auberge & Bon Voyage *Carry On Eyeshadow Duo, Glamping & First Class Gloss'd Up Lip Topper, Cinnabunny Gloss'd Up Lip Topper, Caramelt Shade Lipstix, Prom King Shade Lipstix, 213 Fluff Eyeshadow Brush, Leaf Deco.


Have a great day,
Craftin' Wife


Monday, May 8, 2023

How To: Cricut Design Space Updates/Refresher Part 1 of 2

 Hey Y'all!


Glad to be back, radiation really kicked my butt! It was far more intense than I anticipated! Thanks for your thoughts, prayers, and sticking with me through this. 


Since I last did a Cricut Design Space blog there's been quite a few updates, on both the standard version and Android.

Previous Parts-

https://craftinwifescreations.blogspot.com/2022/12/how-to-cricut-design-space-on-pc-android.html

https://craftinwifescreations.blogspot.com/2023/01/how-to-cricut-design-space-on-pc-part.html

https://craftinwifescreations.blogspot.com/2023/01/how-to-cricut-design-space-on-android.html

https://craftinwifescreations.blogspot.com/2023/01/how-to-cricut-design-space-on-pc-and.html

https://craftinwifescreations.blogspot.com/2023/02/how-to-cricut-design-space-on-pc-part.html

https://craftinwifescreations.blogspot.com/2023/02/how-to-cricut-design-space-on-android.html

https://craftinwifescreations.blogspot.com/2023/02/how-to-cricut-design-space-on-pc.html


Today I'll star with the big Android update:

Print Then Cut is now available! Offset is now available! I don't know that I'll ever really use print then cut via mobile, but the offset is appealing to me with the use of my Joy when traveling.


Offset:


Print Then Cut:
*Not compatible with the Joy machine.


What's new on PC?

Heat Guide, Cricut Learn, and Shop all clickable from DS home page:

Cricut Learn is a wealth of knowledge and helpful tips, how-to's, and product terminology.


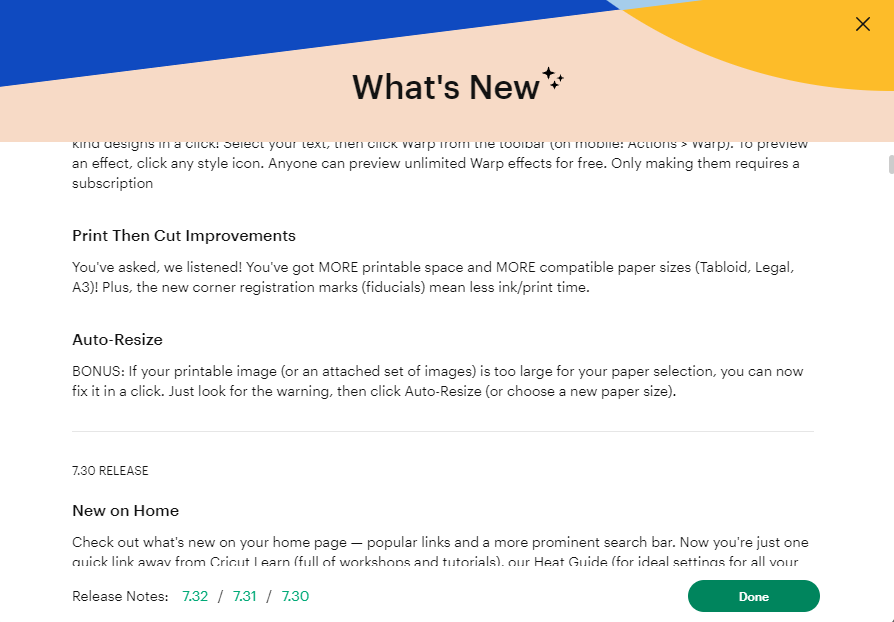
New bounding box functions, as well as new text functionality. But in bigger news LARGER Print then Cut & Warp Text!!


Warp:
*Access Members only.


Print Then Cut:
FULL Sheet!!


Which of these new features are your favorite? Share in the comments below!

Also, if you have questions about anything in Design Space leave them in a comment below and I'll cover them in the next DS blog (later this month).


Have a great day,

Craftin' Wife